
Guide to painting a door
Your home’s inside doors should always exude an air of elegance and sophistication. The paint on these doors may, after some time has passed, start to show signs of cracking, chipping, and general wear and tear.
Because of this, your home’s total worth may suffer as a result; thus, it is recommended that you investigate the possibility of repainting these inside doors. The encouraging thing is that they may be brought back to their former glory with relatively little work. You only need to check that you are performing each step correctly. Because if you don’t, you can wind up with doors that look much worse than they did before you began working on them.
It’s all in the preparation.
It's all in the preparation - this is especially true when it comes to painting inside doors. Before you begin, make sure that you have everything you need to hand so that you can get the job done as quickly and efficiently as possible. Once you have everything that you need, it’s important to follow the instructions provided. Make sure that you are using the correct paint for the job - don't use exterior paint on an interior door. And if there are any areas of the door that need extra attention - such as surface scratches or dents - make sure you address them before you begin painting.The steps to painting
To begin, we will investigate the best method for painting the inside doors that are flat. Because you can paint them using a brush, a roller, or a pad, they are the ones that are the least difficult to paint. If the surface is flush, then there will be no cracks or fissures for you to worry about. If you intend to apply more than one coat of paint, which is typically required, you will need to sand the inside doors in between the applications. This will ensure that the paint goes on smoothly and that the completed product looks fantastic. After that, you should continue painting the door jamb and the casing in order to ensure that the colours are consistent with one another. Painting a door may seem like a simple task, but it requires a certain level of skill and attention to detail to achieve a professional-looking finish. Whether you're painting a new door or repainting an old one, there are a few key steps you need to follow to ensure a flawless result. In this article, we'll walk you through the process of painting a door, from preparation to finishing touches.Remove the door
When painting a door, it is important to remove it from its hinges to make the process easier and more manageable. To remove the door, start by unscrewing the hinges from the door frame using a screwdriver. Carefully lift the door off the hinges and set it on a pair of sawhorses or a worktable covered with a drop cloth to protect the surface from paint drips or spills. Before painting, it is important to prepare the internal door surface for a smooth and even finish. If the door has any holes or dents, fill them with wood filler with a flat scraper and sand them smoothly using fine-grit sandpaper. This will ensure that the surface is even and free of any imperfections that could affect the final result. Allow the door to dry completely before proceeding with next steps. Removing any hardware, such as the doorknob, hinges, and latch plate is also an important step in preparing the door for painting. This will make it easier to paint the door without getting any paint on the hardware and will ensure that the hardware does not get damaged during the painting process. Once the door is clean, dry, and free of hardware, it is ready to be primed and painted to achieve a beautiful, long-lasting perfect finish.Sand the door
Sanding the door is an essential step in preparing it for painting, as it creates a smooth and even surface for the paint to adhere to. To begin, lay a dust sheet, then use fine-grit sandpaper, such as 220-grit, to sand the entire surface of the door, including any raised panels or decorative details. It is important to sand in the direction of the wood grain to avoid creating scratches or marks on the surface of the door. When sanding, it is also important to pay attention to any rough spots or areas where the wood may be uneven. These areas will require extra attention and sanding to ensure that they are smooth and even with the rest of the surface. Use a sanding block or a folded piece of sandpaper to get into corners and tight spots where a larger sanding tool may not fit. After sanding the door, use a clean cloth, dry paint brush or a tack cloth to remove any dust or debris from the surface. This will ensure that the paint adheres properly and that the finish is smooth and even. Sanding the door may take some time, but it is an important step that will ensure a professional-looking finish and help the paint last longer. In summary, sanding the door is a crucial step in preparing it for painting. Use a fine-grit sandpaper, sand in the direction of the wood grain, pay attention to any rough spots, and remove any dust or debris before proceeding with priming and painting. This will help create a smooth and even surface that will make the paint adhere better and last longer.Prime the Door
The next thing that you need to do is seal the surfaces of your doors. You don’t want any moisture to get in there and have an effect on the door in the long term, so this is an important step that you need to take, after all, it may cause it to get distorted. Sealing them with a sealer is an option, although in most cases, this step is only required to be taken when installing brand-new interior doors. You may save yourself some time and money by skipping this step if you are simply going to be painting the doors that are already in the house because it is likely that they have already been sealed. Choose a high-quality primer that is appropriate for the type of paint you plan to use (e.g., oil-based primer for oil-based paint). Begin priming the door with sealant, and apply a thin, even coat of primer to the entire surface of the door using a paintbrush or roller. Be sure to apply the primer in the direction of the wood grain to ensure a smooth finish. Allow the primer to dry completely according to the manufacturer's instructions, usually at least 24 hours. After the primer has dried, lightly sand the door with a fine-grit sandpaper to smooth out any rough areas or drips. Wipe the door down with a damp cloth to remove any dust or debris, and the door is ready to be painted.Paint the Door
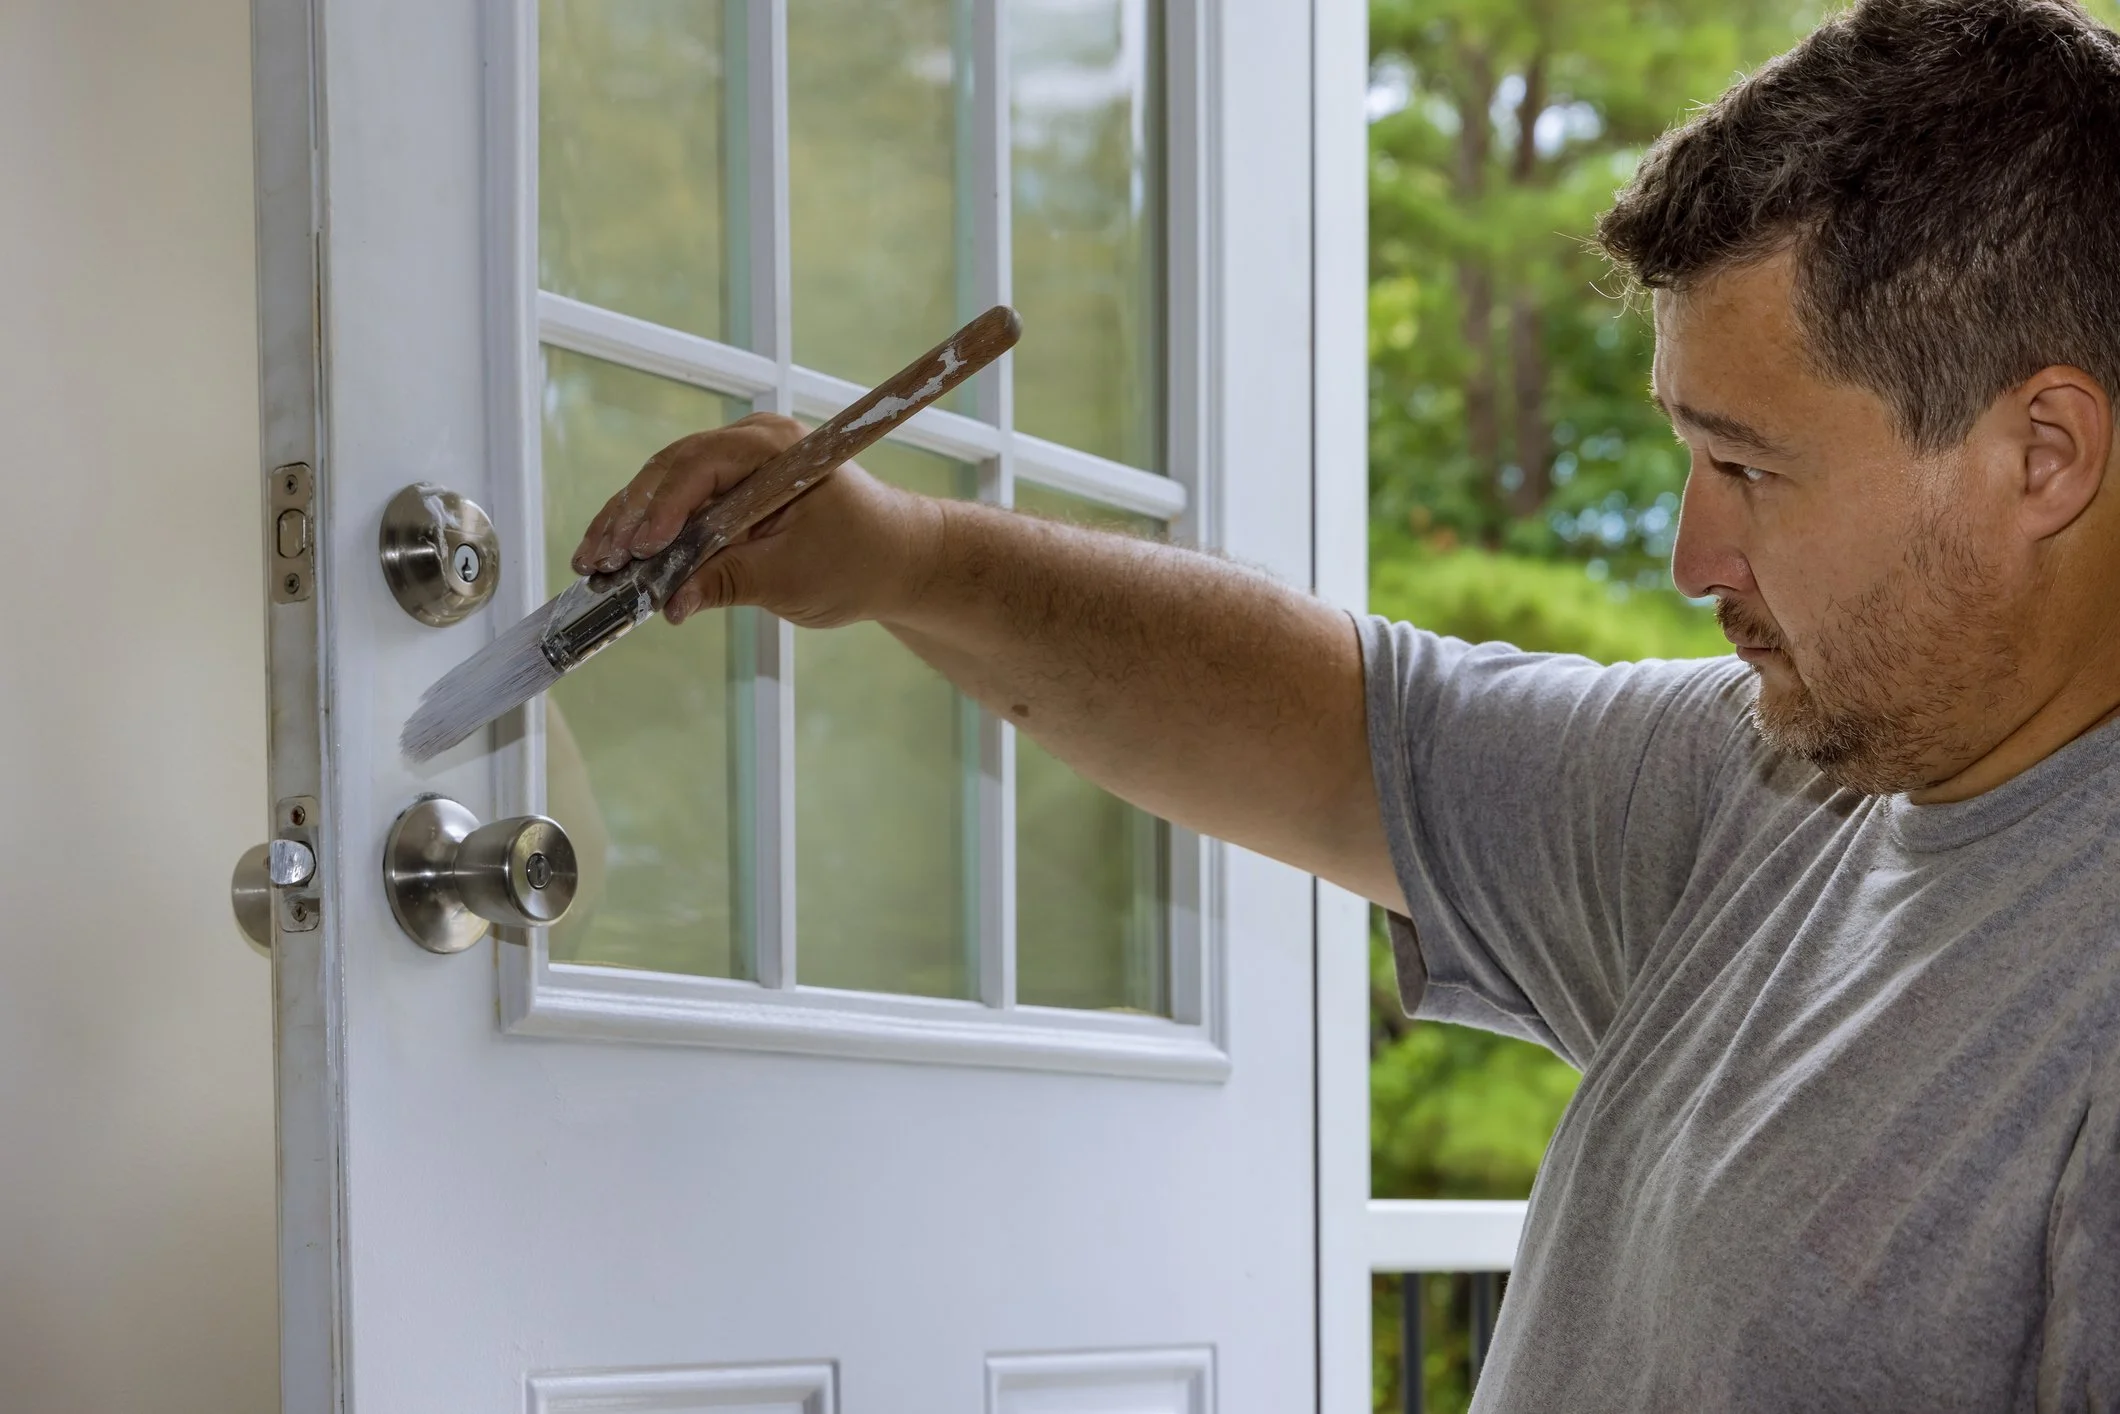
Painting the door is the next step in the process, and it's important to use high-quality paint that is appropriate for the door's material. If you're painting a wooden door, choose latex paint that is designed for use on wood. Before beginning, be sure to have all the necessary materials on hand, including paint, a brush or roller, and a drop cloth or tarp to protect the surrounding area. To begin, start by painting the edges of the door using vertical strokes. Use a small brush to paint any narrow or hard-to-reach areas, such as around the doorknob or hinges. Once the edges are painted, use a larger brush or roller to apply the paint to the rest of the door. It's important to use long, smooth strokes to avoid creating brush marks or streaks in the paint. As you paint, be sure to apply the paint evenly and avoid drips or puddles. If necessary, use a second coat of paint once the first coat is dry. Wait at least 24 hours before applying a fresh coat to ensure that the paint has fully dried and cured. If you're using a brush to paint the door, be sure to use a high-quality brush that is appropriate for the type of paint you're using. For latex paint, a synthetic bristle brush is recommended, as it will provide a smooth finish and is easy to clean. When using a roller, choose a roller cover with the appropriate nap length for the type of paint and texture of the door. Once you've finished painting, be sure to clean up any spills or drips immediately. Use a damp cloth or paper towel to wipe away any excess paint, and dispose of any paint cans or brushes properly. Allow the door to dry fully before reattaching any hardware and rehanging it on the hinges. In summary, painting a door requires choosing a high-quality paint that is appropriate for the material, using the right tools and techniques, and applying the paint evenly and carefully. Be sure to paint the edges first, use long, smooth strokes, and apply a second coat if necessary. Choose the right brush or roller for the job, and clean up any spills or drips immediately.Reinstall the Hardware
After the painted door is completely dry, it is time to reinstall the hardware. Start by aligning the hinges with the hinge mortises on the door jamb. Insert the hinge pins and tap them gently into place with a hammer. If the screws holding the hinges in place are old or damaged, replace them with new ones of the same size and type. Tighten the screws securely but do not overtighten them, as this can cause the door to bind. Next, reinstall the doorknob and latch plate. If you are reusing the existing hardware, make sure it is clean and free of rust or other debris. If the hardware is tarnished or worn, you may want to consider replacing it for a fresh, updated look. Install the latch plate on the door jamb using screws of the appropriate length and type. Then, attach the doorknob to the spindle and secure it in place with screws. Make sure the knob is aligned properly and operates smoothly. Test the latch to make sure it clicks into place and releases smoothly when the knob is turned. Finally, test the door to make sure it opens and closes smoothly and does not bind or scrape against the floor or jamb. With the hardware reinstalled, your newly painted door is ready for use.Finishing Touches
To truly complete the painting process, it's important to pay attention to the finishing touches. These small details can make a big difference in the overall appearance of the door. First, consider adding a kickplate to protect the bottom of the door from scuffs and scratches. Kickplates can be made of various materials, including brass, stainless steel, or even decorative designs that match the style of the door. Next, apply weatherstripping around the edges of the door to improve energy efficiency and reduce drafts. Weatherstripping can be purchased in various forms, such as adhesive strips or metal or plastic pieces that attach to the bottom of the door. It's important to select weatherstripping that is appropriate for the size and shape of the door. Once the finishing touches are complete, inspect the door for any drips or smudges that may have occurred during the painting process. Use a damp cloth to clean up any imperfections and ensure a clean, polished finish. Finally, allow the door to dry completely before using it. This will help to prevent any smudging or damage to the new paint job. By following all of these steps, you can successfully paint a door like a professional and achieve a beautiful, long-lasting finish.Call now to get your free quote
If you need help with any Decorating call us today
T: 01225 466237 | M: 07970 541989