
How to Paint Tiles
To paint tiles, you'll first need to verify they're clean and free of grease, using a high-quality tile cleaner and testing a small area to avoid damage. Lightly score the tiles with fine-grit sandpaper, wrapped around a block for consistency, and remember your safety glasses. Wipe down with a lint-free cloth to remove any debris. Apply a high-adhesion primer specifically designed for tile; use a small foam roller for large areas and an angled brush for the edges. Once the primer dries, stir your paint thoroughly and apply it in straight, consistent strokes, perhaps adding a second coat for durability. As you explore these steps, you'll uncover additional observations and tips that will verify a flawless finish.
Key Takeaways
- Begin by cleaning tiles thoroughly to remove dirt, grease, and old sealants using a high-quality tile cleaner.
- Lightly score the tile surface with fine-grit sandpaper wrapped around a block to enhance primer adhesion.
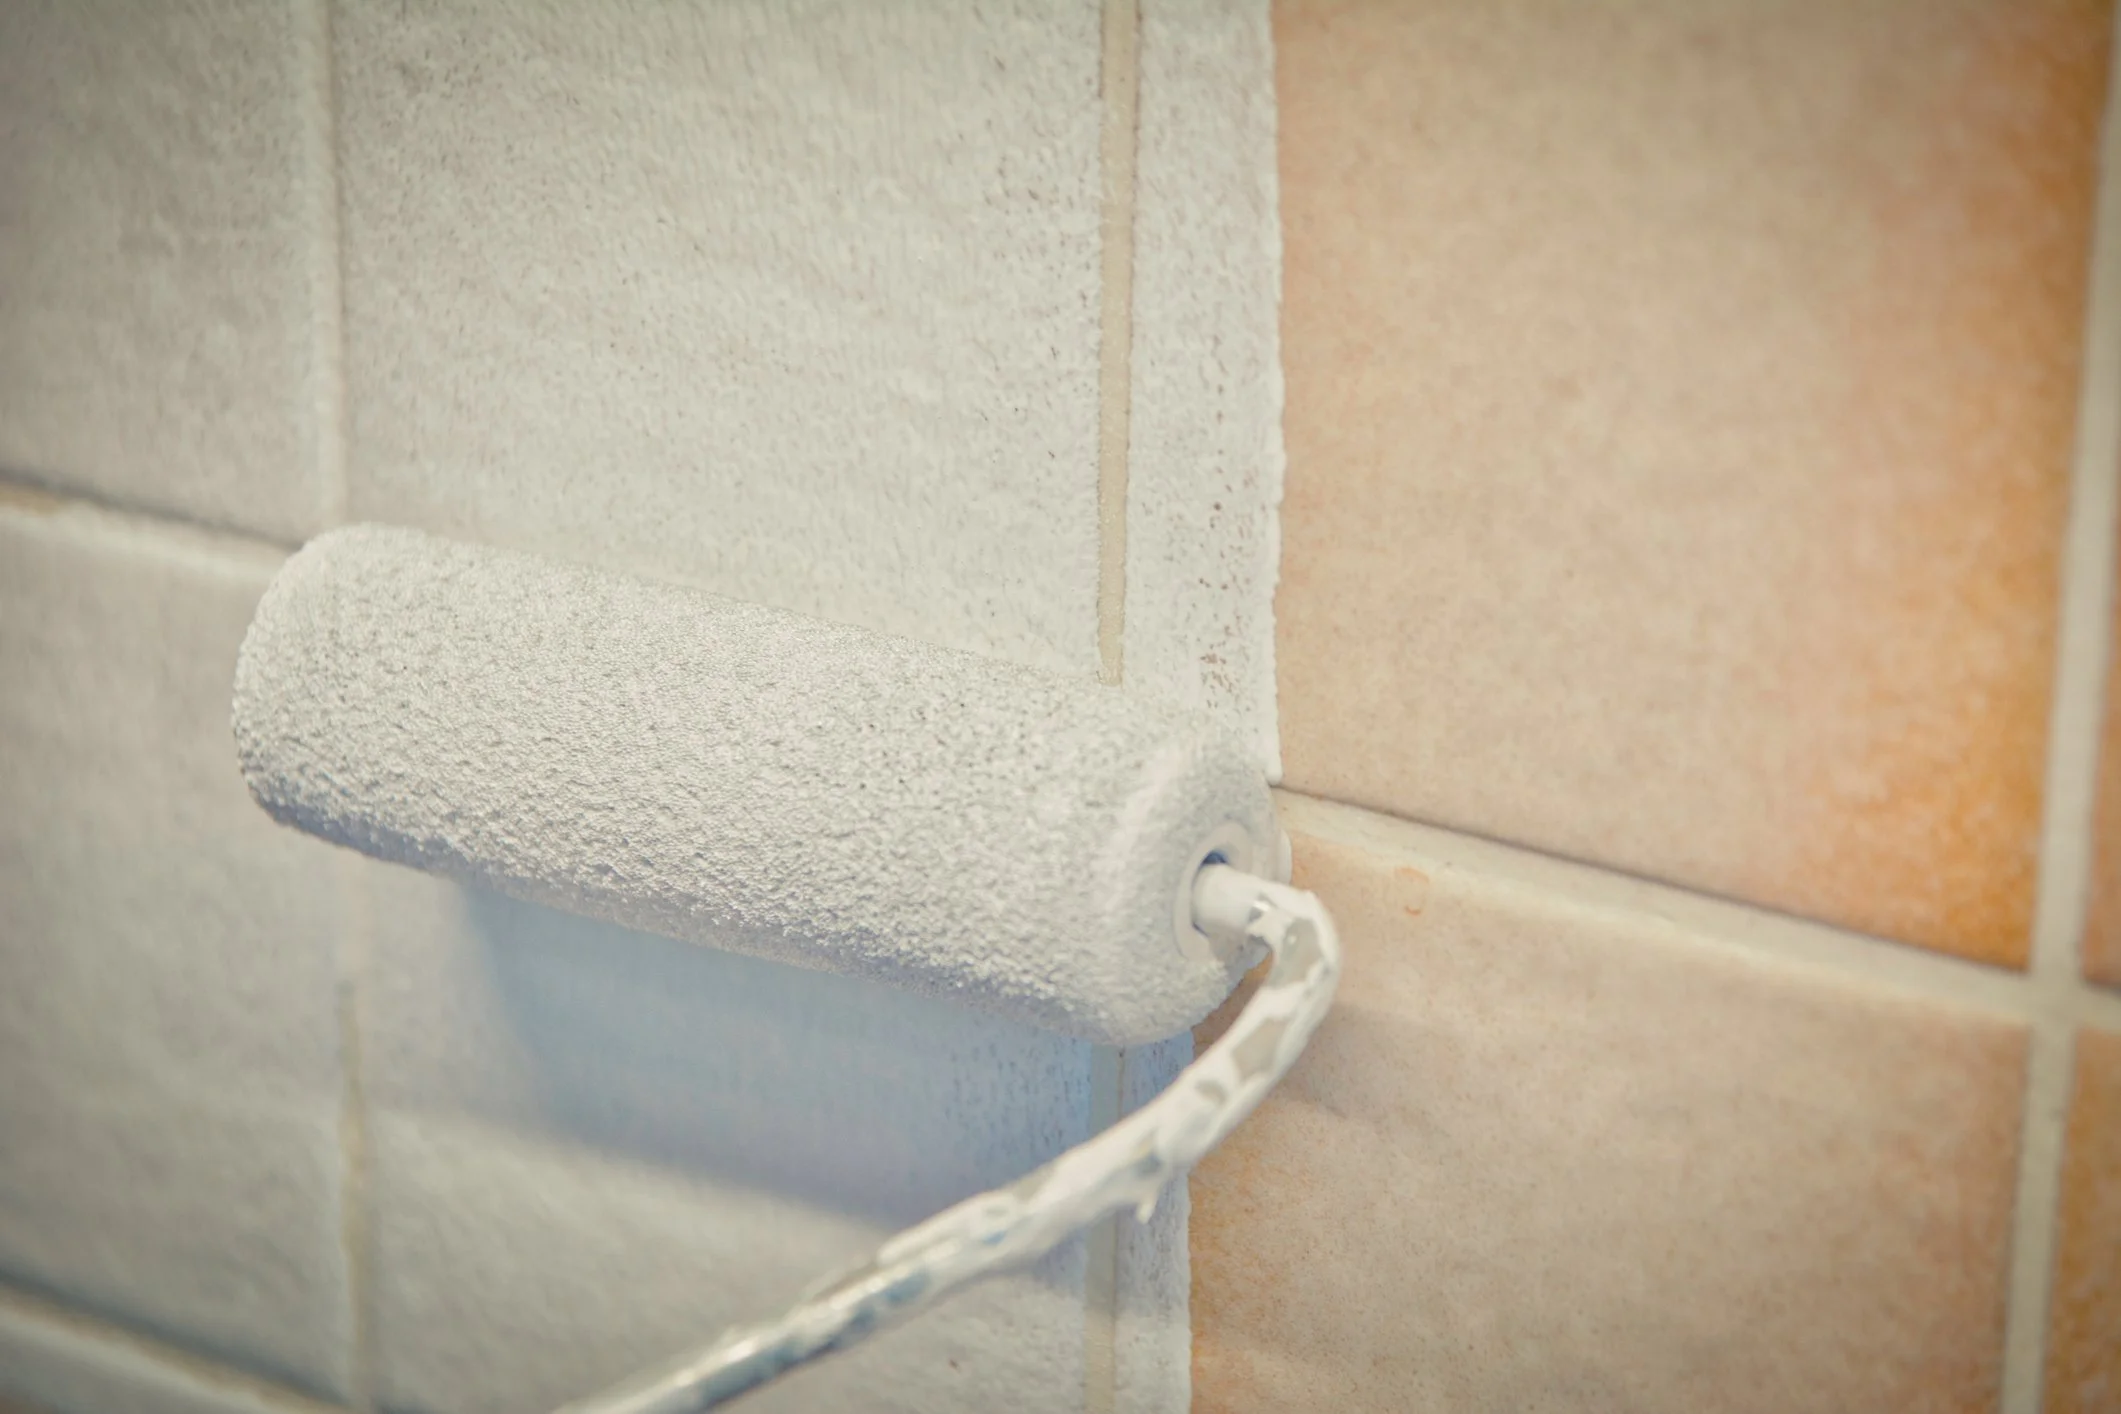
- Apply a high-adhesion primer specifically designed for tiles, using a small foam roller for even coverage.
- Paint tiles with consistent, straight strokes starting from a corner, ensuring to maintain a wet edge.
- Allow the first coat to dry according to manufacturer's instructions before applying a second coat for durability.
Preparation Steps
Before you begin the transformation of your tiles, thorough preparation is vital to guarantee a flawless finish. You'll need to meticulously plan your project, selecting the right tools and materials to secure success. Start by employing effective tile cleaning methods to remove any dirt, grease, or old sealants. Use a high-quality tile cleaner and test it on a small area first to avoid any damage. This initial step is essential for achieving a clean surface that will adhere well to new paint. Next, focus on surface preparation techniques. Lightly score the tile with fine-grit sandpaper, which helps the primer and paint adhere better. Wrap the sandpaper around a block to apply even pressure, and always wear safety glasses to protect your eyes from dust. After sanding, wipe the tiles down with a lint-free cloth to remove any remaining debris. When choosing paint, consult paint selection tips to find a formula specifically designed for tile. This guarantees durability and a smooth finish.Priming Process
Once your tiles are clean and prepped, it's time to move on to the priming process, which guarantees your paint adheres correctly and provides a smooth, lasting finish. Choosing the right primer types is critical; opt for a high-adhesion primer specifically designed for tile surfaces to assure ideal results. These primers are crafted to bond with the slick, non-porous surface of tiles, creating the perfect base for your paint finishes. Begin the application by placing a drop sheet to protect your floors and fixtures. Pour your chosen primer into a paint tray for easy access. Use a high-quality angled brush to cut in around the edges of the tiles. This technique helps in covering the corners and edges neatly. For larger tile areas, switch to a small foam roller. Be sure to load it evenly with primer to avoid drips and guarantee a uniform coat. Apply with gentle, even strokes, starting from the top of the wall and working your way down to maintain consistency. Allow the primer to dry according to the manufacturer's recommended drying times, usually a few hours, before moving on to painting. This patient approach ensures the primer sets correctly, providing a stable foundation for top coats.Painting Technique
Stirring your paint thoroughly before application is vital to achieving a uniform colour and consistency. Once you've prepared the surface as previously outlined, you're ready to apply the tile paint. Start in a corner and work your way down to maintain a wet edge, which helps prevent overlap marks. It's important to apply the paint evenly, using strokes that are straight and consistent. This technique guarantees that the colour remains uniform across the entire surface. For best results, consider the colour selection carefully. Lighter colours can make a small room appear larger, while darker hues often add a touch of elegance. Regardless of your choice, verify the paint is suitable for tiles and offers finish durability to withstand the moisture and wear typical in areas like kitchens and bathrooms. Remember to apply a second coat if necessary. Most tile paints dry to the touch within two hours, but it's important to check the coverage before deciding if another layer is needed. This second application will enhance the durability and overall appearance of your finish.Final Thoughts
Now that you've mastered the art of painting tiles, remember: "A stitch in time saves nine." By taking the time to properly prepare, prime, and paint, you've not only transformed your space but also guaranteed lasting results. Enjoy the fresh look of your tiled areas and feel empowered to tackle more DIY projects. Keep exploring Paintworks' range of products and take advantage of our ongoing offers to continue enhancing your home with confidence and style.Call now to get your free quote
If you need help with any Tile Decorating call us today
T: 01225 466237 | M: 07970 541989