
Stripping Lead Paint Safely
Lead-based paint remains a hidden hazard in many UK properties, particularly those built before the 1960s. While lead paint is often harmless when undisturbed and in good condition, the process of stripping, or the natural flaking of old layers, releases neurotoxic dust. This poses significant risks to health, especially for babies, children, and pregnant women who absorb lead more rapidly into their systems.
If you are planning to refresh your woodwork, understanding how to manage these risks is essential. Ingesting or inhaling lead-laden dust can lead to serious consequences, including insomnia, loss of appetite, and long-term nervous system damage. This guide provides a professional, step-by-step approach to stripping lead paint safely, ensuring your renovation doesn't compromise your household's wellbeing.
Once the lead has been safely removed and the surfaces neutralised, you can begin the more enjoyable process of redecoration. For those new to the process, our guide on basic tips for painting a room will help you achieve a high-quality finish on your newly prepared surfaces.
Safety Essentials for Lead Removal
| Equipment | Requirement | Why? |
|---|---|---|
| Respirator | FFP3 Rated | Standard masks do not filter lead dust. |
| Sanding | Wet-sanding only | Prevents toxic particles from becoming airborne. |
| Cleanup | HEPA Vacuum | Standard vacuums exhaust lead dust back into the room. |
Identifying and Confirming Lead Paint
To confirm the presence of lead paint, look for "alligatoring"—a specific cracking pattern that resembles scales. Lead was frequently used in durable primers and topcoats for doors, skirting boards, and window frames. If you have any doubts, use a lead testing kit. By swabbing a small, deep cut through all layers of paint, you can confirm the presence of lead via a chemical colour change.
If the test is positive, you must decide whether to encapsulate the paint or remove it entirely. If the paint is in good condition, painting over it and labelling it as "Lead Containing" is often recommended by the British Coatings Federation. However, if it is peeling or flaking, full removal is the only way to reduce future risk. This is a complex decision where safety is paramount, which is why you should hire a professional decorator experienced in lead abatement to handle the removal.
Preparation and Workplace Safety
Preparation is the most critical stage of the project. Clear the room of all furniture, rugs, and curtains, as lead dust is notoriously difficult to remove from fabrics. Cover the floor with heavy-duty plastic sheeting and seal off the work area with plastic barriers to prevent dust from migrating to other parts of the home.
Always wear protective gear, including a suitable FFP3 respirator, disposable overalls, and gloves. Ensure the work area is well-ventilated, but avoid using fans that could blow dust around. If you are stripping internal doors, it is often safer to remove them from their hinges and work on them in a controlled outdoor environment or a dedicated workshop space.
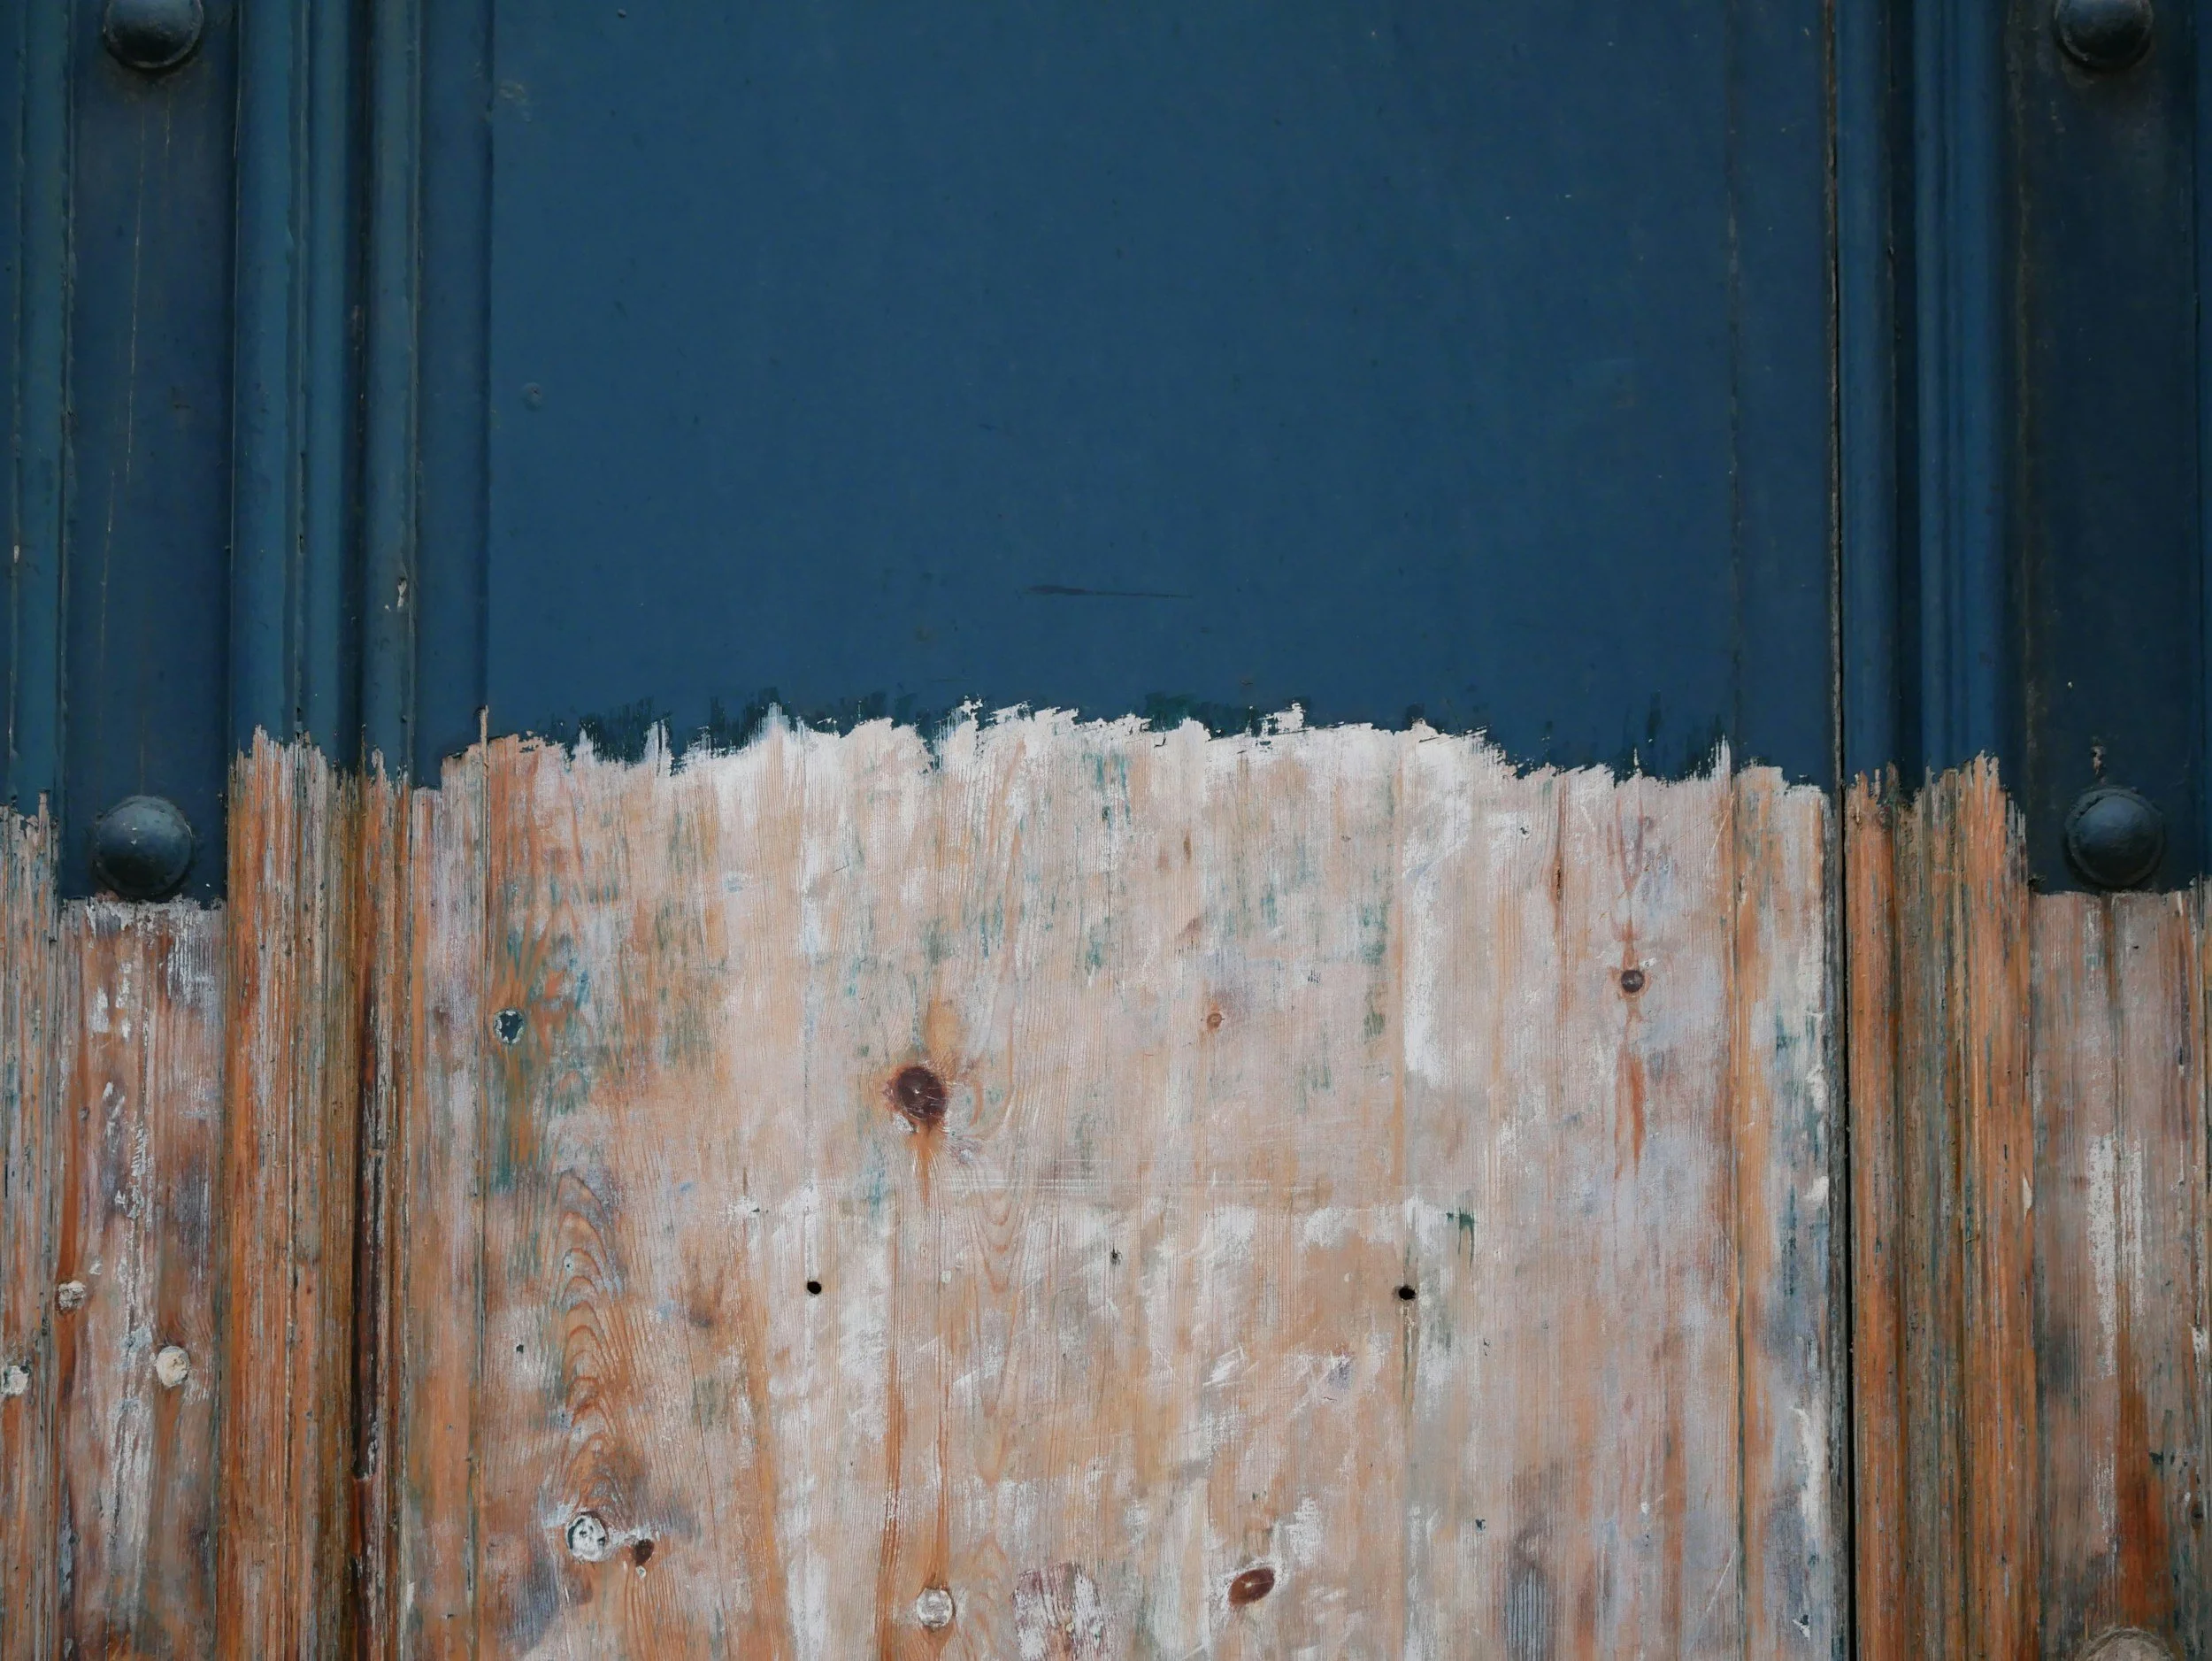
Stripping Techniques: Avoiding the "Dust Cloud"
The golden rule of lead removal is to avoid heat guns and dry sanding. High heat (over 450°C) vaporises lead, creating highly toxic fumes that are easily inhaled. Instead, focus on methods that keep the lead particles "wet" and contained.
- Chemical Strippers: Use "poultice" style strippers that keep the paint in a paste-like state. These products are designed to absorb multiple layers, including older base coats, allowing you to scrape them away as a moist mass.
- Wet Scraping: Use a spray bottle to keep the surface damp while using a stripping knife. This "wet method" is the most effective way to prevent lead particles from entering the air.
- Eco-Friendly Alternatives: Many modern strippers are biodegradable. Integrating these with the benefits of using eco-friendly paint for your new topcoats ensures a much healthier indoor environment post-renovation.
Dealing with Stubborn Base Coats and Green Primers
Old green or orange primers are notoriously difficult to shift as they often contain the highest concentrations of lead. These stubborn layers often require extended "dwell times" with chemical strippers. For these areas, we recommend using wire wool dipped in stripper to gently agitate the surface, followed by a thorough wash with sugar soap to neutralise any remaining residue.
Once the wood is bare, it must be thoroughly cleaned to remove any microscopic lead traces. Use a HEPA-filter vacuum for the initial cleanup, followed by a "wet-wipe" method using sugar soap and disposable cloths.
Choosing Your New Finish Safely
Once the lead is gone and the wood is neutralised, the creative process begins. Because different rooms require different light-reflecting qualities, learning how to choose paint colours that complement your home's natural light will ensure your hard work results in a beautiful, safe space.
Hazardous Waste Disposal
Lead-contaminated waste cannot be thrown in your standard household bin. Collect all paint chips, used plastic sheeting, and disposable clothing in heavy-duty plastic bags. Double-bag these items and label them clearly as lead-contaminated hazardous waste. Contact your local authority or waste facility to arrange for safe, legal disposal in accordance with environmental regulations.
Professional Lead Paint Abatement in Bath
Don't take risks with lead dust. Our expert team uses industrial-grade HEPA extraction and safe chemical removal methods.
Contact us for a Free Quote:
01225 466237 | 07970 541989