
5 Quick Tips to Paint a Bathroom
Transform your bathroom with these expert tips. First, gather materials: quality brushes, rollers, and moisture-resistant paint. Prepare your walls by cleaning with sugar soap, sanding, and patching any imperfections. Protect fixtures using masking tape and sheets to guarantee clean lines. Choose calming colors like soft blues or greens, testing them under different lighting. Master cutting in with a high-quality angled brush for precision around edges. Ready to elevate your painting skills further?
Key Takeaways
- Clean and prep walls thoroughly for optimal paint adhesion.
- Use moisture-resistant bathroom paints to prevent mold and mildew.
- Protect fixtures with masking tape and protective sheets.
- Test paint samples under different lighting conditions for accurate colour.
- Use a high-quality angled brush for precise cutting in around edges.
Gather Your Materials
To kick off your bathroom painting project, you'll need to gather all essential materials and tools to guarantee a smooth and efficient process. Start with colour selection, opting for shades that create a fresh and clean feel, such as white, grey, or blue. When choosing paint types, prioritize moisture-resistant bathroom paints that are easy to clean and possess anti-mold properties. Next, focus on surface preparation. Make sure you have sugar soap and a sponge for washing walls, as well as sandpaper for removing any flaking paint. This step is important for a professional finish and proper paint adhesion. For application techniques, you'll need a roller frame and sleeve, a roller tray, and a quality paint brush for cutting in. Cutting in involves painting edges and corners with precision before using the roller on larger areas. It's vital for achieving clean lines and a polished look. Implement protective measures by using masking tape to cover fixtures and trim, and protective sheets to safeguard floors and countertops. Proper tools usage, including the right roller and brush, will make your job easier and more efficient. With these materials and tools at hand, you're ready to proceed with confidence.Prepare the Walls
Start by thoroughly cleaning the walls with sugar soap and a sponge to remove any dirt, grease, or grime. This initial step is essential for optimal paint adhesion. Once the walls are clean, inspect for any imperfections. Employ wall prepping techniques to identify cracks, holes, or flaking paint. For surface repair methods, use a filler to patch any holes and cracks. After the filler dries, sand the patched areas until smooth. Sanding also helps create a slightly roughened surface, promoting better paint adherence. If you encounter flaking paint, use sandpaper to remove these loose areas completely. Maintenance tips include making sure the walls are dry before proceeding. Moisture can compromise the paint's ability to bond properly, leading to peeling or bubbling later. Additionally, check for mold or mildew, common in bathroom environments. If present, treat these areas with a mold-killing solution before painting. Thorough preparation will save you from potential headaches and ensure your bathroom walls are in prime condition for painting. Proper wall prepping techniques and surface repair methods lay the foundation for a professional finish, enhancing the longevity and appearance of your new paint job.Protect Fixtures
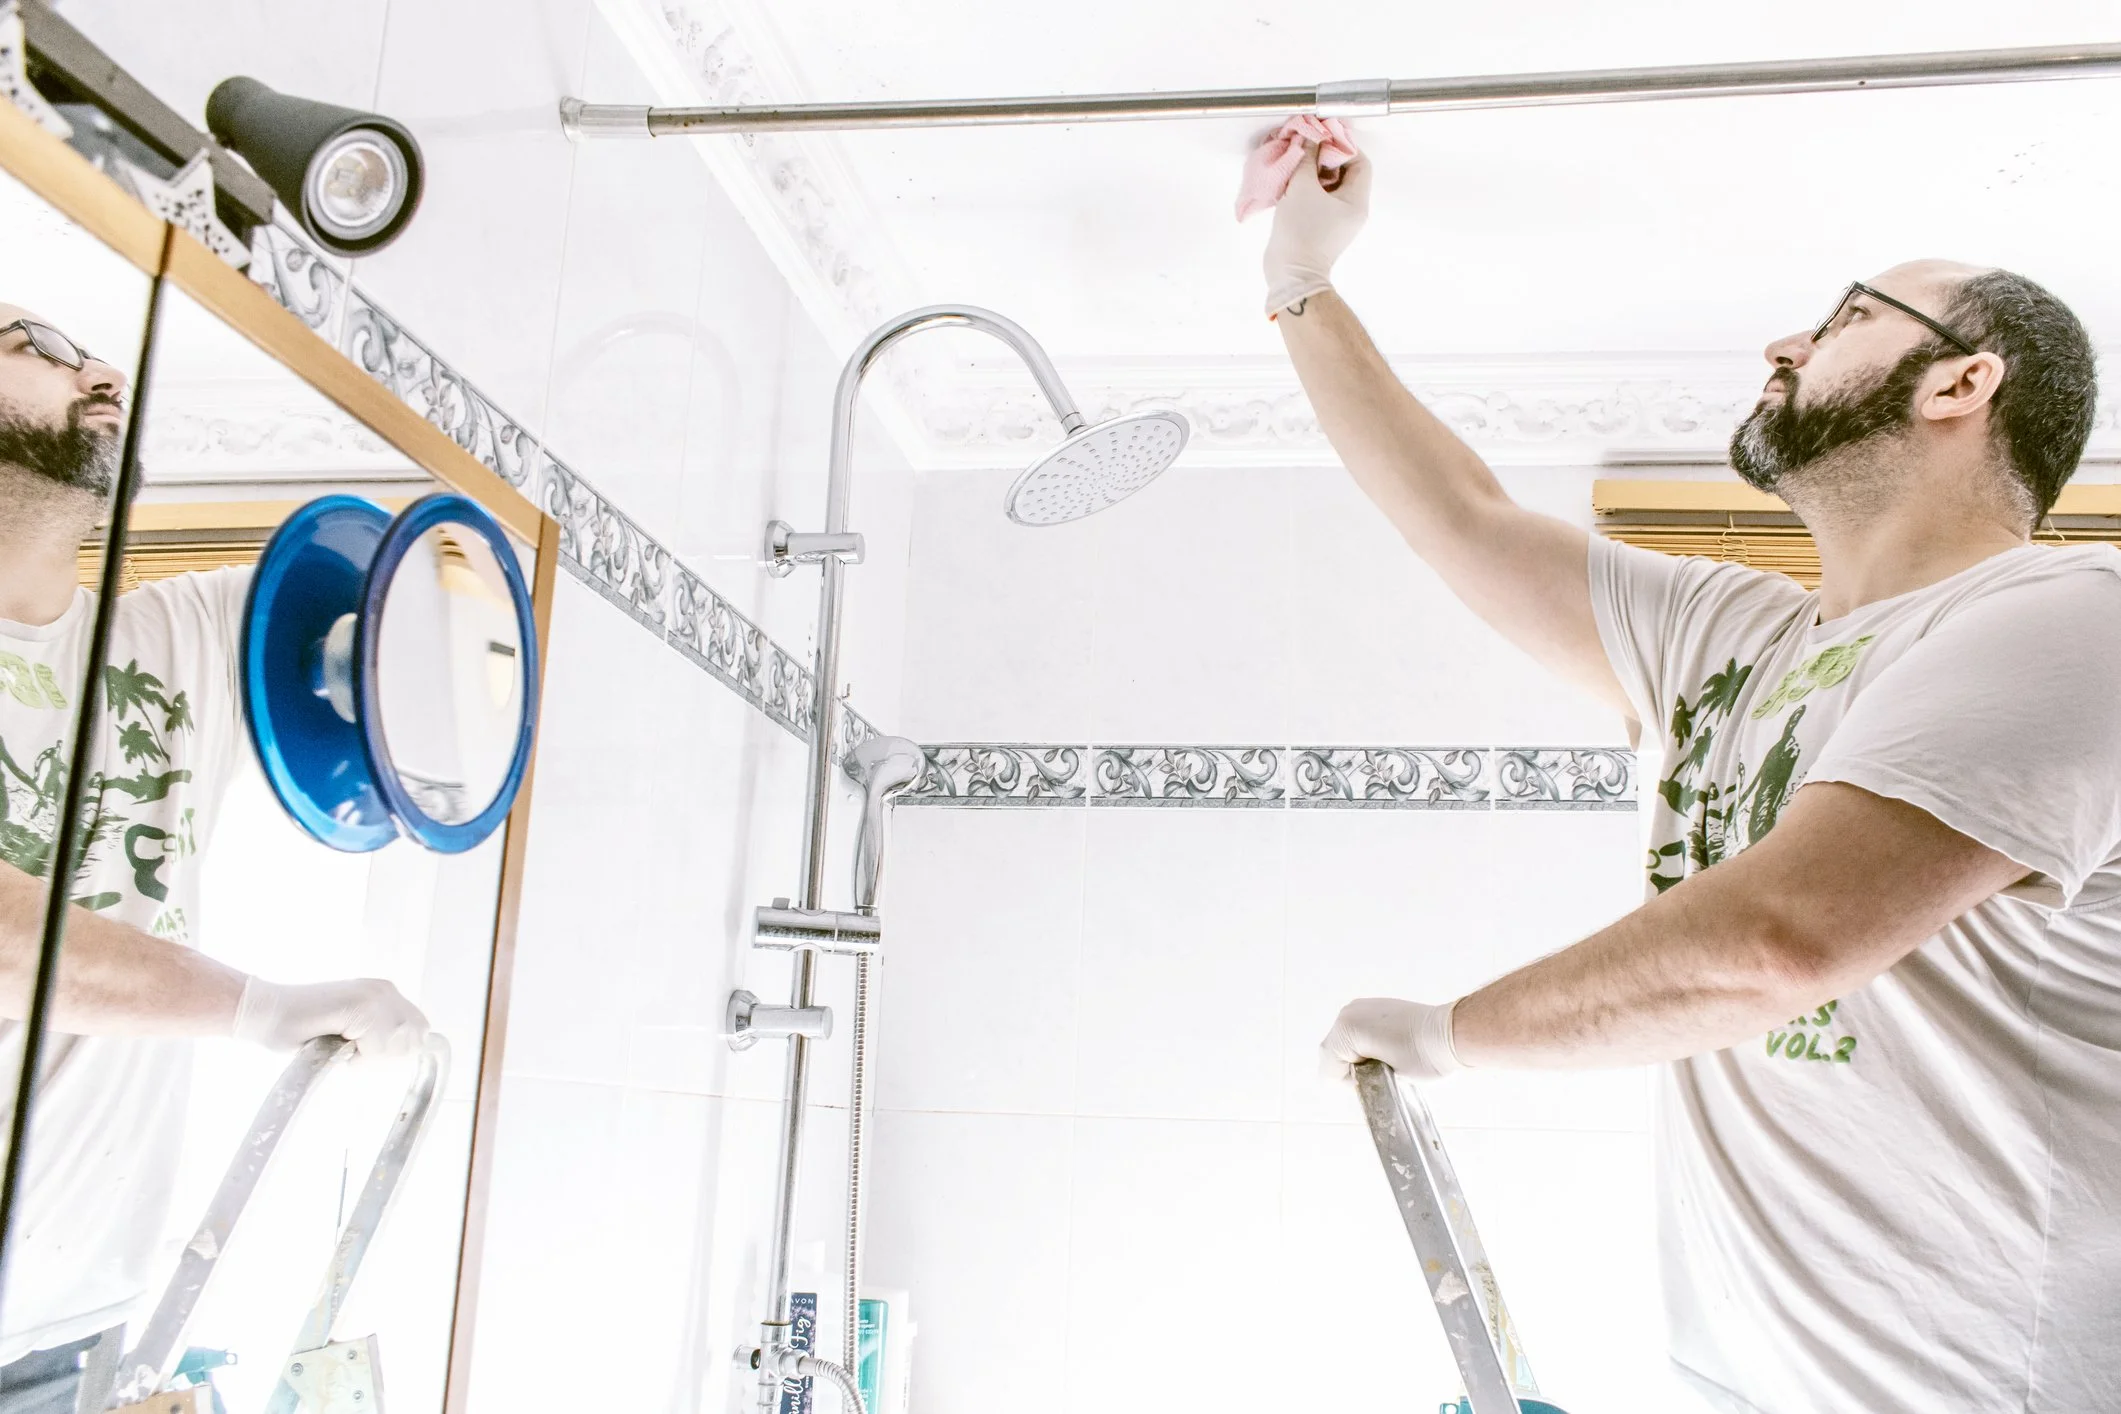
Before you begin painting, cover your bathroom fixtures with protective sheets and secure them with masking tape to prevent any paint splashes or drips. This step is essential for fixture protection, ensuring that your faucets, towel racks, and light switches remain free from paint damage. Use high-quality masking tape to create a tight seal around edges. For best practices, apply the tape carefully to avoid gaps where paint could seep through. Extend the protective sheets to cover larger areas around your fixtures. This approach not only safeguards against accidental drips but also makes cleanup easier. To further prevent paint damage, consider using waterproofing techniques for fixtures. You can apply a thin layer of petroleum jelly on the metal surfaces of faucets and handles. This creates a barrier that makes any stray paint easy to wipe off. Additionally, don't forget to cover the showerhead and any exposed pipes. These areas are often overlooked but susceptible to paint splashes. Taking these precautionary steps will save you time and effort in the long run, ensuring that your bathroom fixtures remain pristine throughout the painting process.Pick the Right Colours
With your fixtures protected, focus on picking the right colors to create a fresh and inviting bathroom atmosphere. Understanding color psychology is essential; colors like soft blues and greens promote relaxation, while neutral tones such as whites and grays provide a clean, modern look. Explore trendy palettes to guarantee your bathroom stays stylish and up-to-date. Start by gathering paint color samples and testing them under different lighting conditions in your bathroom. This helps with precise color matching and makes sure you're satisfied with the final result. Don't rush this step; the right shade can transform your space. Consider using color contrast to add depth and interest. For instance, pairing a light wall color with darker trim or vice versa can create a striking effect. Accent walls are another excellent technique; painting one wall in a bold shade can make a statement without overwhelming the room.Master Cutting In
Mastering the cutting-in technique guarantees clean, sharp edges where walls meet ceilings, corners, and trim, providing a professional finish to your bathroom paint job. To achieve precision, use a high-quality angled brush. This brush technique allows you to control the paint application and maintain clean lines. Dip your brush into the paint, making sure you have just enough to cover the bristles without dripping. Consistency is key; keep the paint consistency smooth to avoid thick, uneven lines. Begin by practicing your brush strokes on a piece of cardboard or a spare wall section. Remember, practice makes perfect, especially when mastering edges. When you're ready, start at the top of the wall near the ceiling, working your way down. Hold the brush at a slight angle, and use steady, controlled strokes to cut in. Pay attention to your speed and pressure; too fast or too hard can result in splatters or uneven lines. Maintaining a steady hand will help you achieve those smooth lines.Apply Paint Evenly
To apply paint evenly, make sure you load your roller with a moderate amount of paint, distributing it uniformly across the roller to prevent streaks or blotches. First, dip the roller into the paint tray, making sure it covers just under half of the roller. Roll it back and forth on the tray's ridged section to distribute the paint evenly. This roller technique guarantees consistent paint application. Begin painting in a 'W' pattern on the wall. This method helps in spreading the paint evenly and avoids lines. When blending colors, overlap each 'W' stroke to integrate the painted sections seamlessly. Always maintain a wet edge to prevent lap marks. Use even pressure while rolling; too much pressure can cause paint to seep out the sides, while too little can result in insufficient coverage. For corners and edges, switch to a smaller roller or a brush, following the same paint application principles.Finishing Touches
Once the final coat of paint is applied, make sure to carefully remove the masking tape before the paint fully dries to achieve crisp, clean edges. This step is vital for a professional finish. Next, focus on choosing accessories that complement your new color scheme. Opt for moisture-resistant materials to maintain longevity in a humid environment. Adding accents can dramatically elevate the bathroom's aesthetic. Consider installing a stylish towel rack, decorative mirror, or even framed artwork. These elements add personality without overwhelming the space. Think about the color and material of these accents to guarantee they harmonize with your freshly painted walls. Enhancing lighting is another pivotal aspect of the finishing touches. Swap out old fixtures for modern, energy-efficient LED lights that offer both functionality and style. A well-lit bathroom not only looks inviting but also showcases the new paint job effectively. Don't forget to check the lighting's color temperature; cooler tones can make the bathroom feel fresh, while warmer tones add coziness.Final Thoughts
Remember, 'measure twice, cut once.' Proper preparation and execution make all the difference. By gathering high-quality materials, meticulously preparing your walls, and protecting fixtures, you'll guarantee a professional finish. Choose colors wisely and perfect your cutting-in technique for clean edges. Apply paint evenly with a roller for that smooth, polished look. Follow these tips, and you'll transform your bathroom into a fresh, inviting space that stands up to moisture and time. Your effort will truly shine.Call now to get your free quote
If you need help with any Decorating call us today
T: 01225 466237 | M: 07970 541989