
Painting New Plaster
Painting new plaster can seem overwhelming, especially if you're not familiar with the process. But don't worry, with a little bit of preparation and some helpful tips, you'll be able to paint your newly plastered walls with confidence and ease.
One common concern when painting new plaster is the potential for adhesion problems and peeling. However, by following the proper steps and using the right techniques and tools, you can ensure that your paint job will adhere properly and last for years to come.
Key Takeaways
- Let plaster dry completely before painting
- Use a mist coat by mixing 3 parts emulsion with 1 part water and applying evenly with a roller or brush, waiting 24 hours for it to dry completely, and removing excess moisture with a dehumidifier
- Choose color options for the topcoat and use a V motion with a brush or roller, avoiding too much pressure or overload of paint
- Protect fixtures and fittings, use water-based paints, troubleshoot with additional coats, and use similar colors for the mist coat and topcoat to achieve a professional finish.
Preparing for Painting
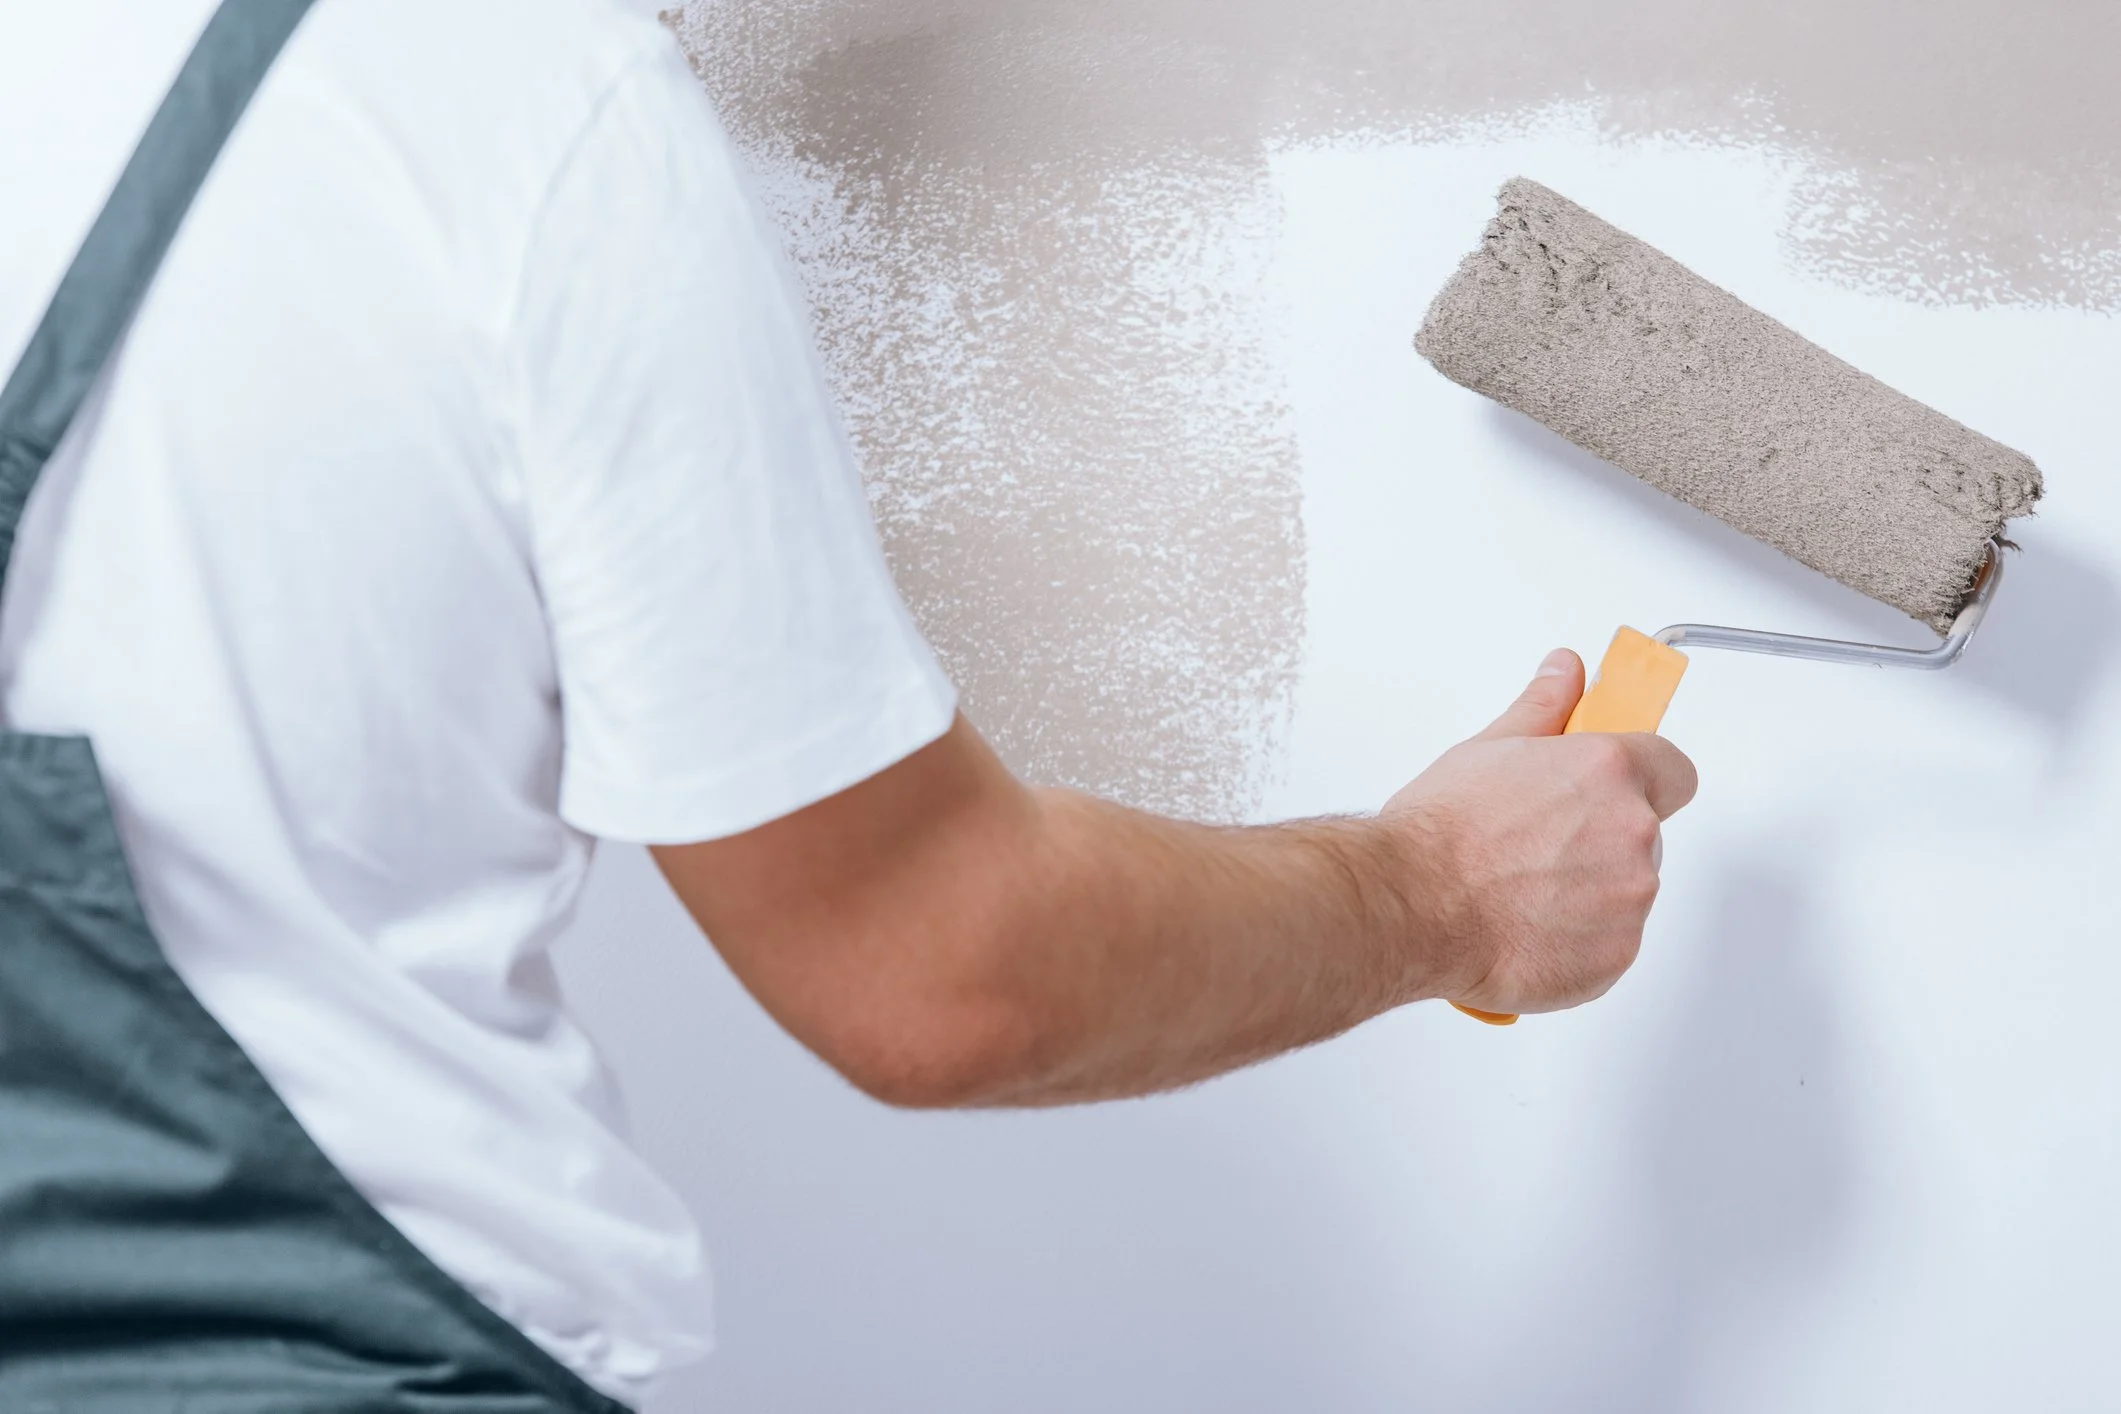
Before starting to paint new plaster, it's important to prepare thoroughly by letting the plaster dry completely. This can take up to a week or more, depending on the thickness of the plaster and humidity levels. Rushing this step can cause adhesion problems and peeling down the line. While waiting for the plaster to dry, gather your tools needed for painting: rollers, brushes, trays, and of course, paint. It's also important to select paint colors that are similar for both the mist coat and topcoat to ensure an even finish. One common mistake is not protecting fixtures and fittings with dust sheets and tape before painting; this can lead to splatters and drips that are difficult to clean up. Once the plaster is fully dry, you're ready to apply a mist coat or water-based primer. A mist coat is made by mixing three parts emulsion with one part water – this will be runny but gives something for the topcoat of paint to stick onto. Apply it evenly with a roller or brush in long strokes, making sure not to leave any areas uncovered. After 24 hours of drying time, you're ready for the next step – applying your topcoat in a V motion for even coverage.Applying the Mist Coat
Once the plaster has fully dried, you're ready to give your walls the preparation they need for a flawless finish. Applying a mist coat is one of the most important steps in painting new plaster. A mist coat is made by mixing three parts emulsion paint with one part water to create a diluted first layer that will help the topcoat adhere evenly. To apply the mist coat, start by protecting your floors and furniture with dust sheets and tape. Use a roller or paintbrush to cover your walls in light strokes, working from top to bottom and left to right. Make sure not to overload your brush or roller, as this can cause drips that will ruin your finish. Keep an eye out for any drips or streaks and smooth them out quickly before they dry. If you don't want to use a mist coat, there are other options available such as using water-based primer instead. However, be aware that these alternatives may not provide the same level of adhesion as a mist coat would. Once you've finished applying the mist coat, wait at least 24 hours for it to dry completely before moving on to apply your topcoat in a V motion for even coverage. As you move on into drying time after applying your mist coat, make sure that it has fully dried before starting on your topcoat. This step is crucial since applying paint over wet or partially-dry areas can lead to uneven coverage or peeling later down the line. With proper preparation and attention during application, however, you'll be well on your way towards having beautifully painted walls!Drying Time
As you wait for the mist coat to dry completely, it's important to give the wall time to absorb the diluted emulsion mixture and prepare for the next step in achieving a flawless finish. The drying time of a mist coat can vary depending on several factors, such as humidity levels and room temperature. In humid conditions, drying time may be prolonged, causing moisture to get trapped underneath the topcoat. To ensure that your plaster is ready for the next step, use a dehumidifier to remove any excess moisture from the air. You can also test for moisture by attaching a small piece of plastic wrap onto the wall and leaving it overnight. If there is condensation on the underside of the plastic wrap in the morning, then there is still too much moisture present. Once you have confirmed that your plaster is dry enough to proceed with painting, you can move on to applying your topcoat. Remember to apply paint in a V motion for even coverage and consider using more than one coat if necessary. With these steps completed, you'll soon have beautifully painted walls that are sure to impress!Applying the Topcoat
Now that the mist coat has dried, it's time to apply the topcoat for a smooth and even finish. Start by choosing your color options carefully, making sure it complements your furnishings and overall decor. When applying the topcoat, use a V motion with your brush or roller to ensure even coverage. Remember that more than one coat may be necessary for best results. Brush techniques are key when applying the topcoat. Avoid using too much pressure as this can cause streaks and an uneven finish. Instead, use light strokes and take care not to overload your brush or roller with paint. Don't be afraid to go over areas you've already painted if you notice any drips or streaks - just make sure you do it quickly before the paint dries. Common mistakes when painting new plaster include not waiting long enough for the mist coat to dry, using low-quality tools, and rushing through the process. Take your time and follow these tips for best results: use dust sheets and tape to protect fixtures and fittings; mix your paint thoroughly before starting; consider using a water-based primer instead of a mist coat; wait at least 24 hours between coats; and always work in natural light if possible. By following these guidelines, you'll achieve a beautiful finish on your newly plastered walls without any adhesion problems or peeling. Next up are some additional tips for achieving professional results when painting new plaster!Tips for Best Results
Achieving a professional finish on your freshly plastered walls requires attention to detail and some helpful tips. To avoid common mistakes, choose the right paint for your project. Opt for water-based paints that dry quickly and provide even coverage. Avoid oil-based paints as they take longer to dry and can lead to uneven finishes. Troubleshooting tips are also key in getting the best results when painting new plaster. If you notice any irregular brush strokes or an uneven finish, apply another coat of paint using a V motion for even coverage. Be patient and allow each coat of paint to dry completely before applying additional coats. Remember to protect fixtures and fittings with dust sheets and tape while painting, as well as using a mist coat or water-based primer before applying the topcoat. Using similar colors for both the mist coat and topcoat will ensure an even finish, while mixing 3 parts emulsion with 1 part water will help create a mist coat that provides something for the topcoat to absorb into. Follow these tips, be patient, and you'll soon have beautifully painted walls in your home!Final thoughts
Congratulations, you've successfully painted your new plaster walls! By following the steps we outlined, you've ensured a smooth and even finish that'll last for years to come. Remember to always prepare your walls properly by cleaning and applying a mist coat before adding the topcoat. This'll ensure that your paint adheres correctly and doesn't peel or flake. As the old saying goes, "preparation is key,"and this applies especially when painting new plaster. Taking the time to properly prepare your walls will save you time and money in the long run. So don't rush through the process, take your time, follow our tips, and enjoy your newly painted space!Call now to get your free quote
If you need help with any Decorating call us today
T: 01225 466237 | M: 07970 541989