
Spring Cleaning Your Bathroom
Spring is Coming: A Guide to Deep Cleaning Your Bathroom
As winter waves goodbye and the early signs of spring start to peek through, it’s the perfect time to refresh your home—and your hardworking bathroom deserves some extra attention. Over the cold months, it’s been your family’s go-to for everything from post-workout soaks to quick rinses after messy adventures. While your weekly routine might keep it presentable, spring cleaning gives you the chance to reset with a thorough deep clean. Whether you’re looking to redecorate, swap out a tired mirror, or upgrade your cabinets, the most affordable way to breathe life into your bathroom is with an old-school deep clean. Here’s a straightforward, step-by-step guide to making your bathroom sparkle.Step 1: Prep for Success
Before you dive in, gather everything you need to make the job easier. You don’t have to splurge on fancy, store-bought products—simple, eco-friendly options can work wonders and are better for both the environment and your family. For example, natural cleaning agents like lemon juice or baking soda can be as effective as chemical-laden alternatives. You’ll also need:- Soft cloths for wiping different surfaces.
- A garbage bag for tossing out junk.
- Hot water on hand to tackle stubborn grime.
Step 2: Dust from the Top Down
Start high and work your way down. Ceilings, light fixtures, and the tops of cabinets and mirrors are often neglected, so use a duster or a vacuum with an extended nozzle to clear cobwebs and dust. For painted surfaces, a dry duster will do, but furniture polish can help trap stubborn particles. Don’t forget about those sneaky spots like the tops of door frames, picture rails, and blinds. Once surfaces are clear, take a moment to assess. Are the items on your shelves still useful or just taking up space? Spring cleaning is the perfect time to declutter. Anything gathering dust that doesn’t add value should go—no mercy! For sticky or stubborn grime, hot water mixed with mild detergent (or lemon juice for that fresh spring scent) works wonders.Step 3: Declutter Like You Mean It
Clutter builds up over time, and bathrooms are no exception. If your cabinets and drawers are packed with half-used products and forgotten items, it’s time to streamline. Here’s a quick decluttering checklist:- Toss out expired medicines. They’re not only useless but could be hazardous.
- Remove anything you haven’t touched in over a month (except décor and plants).
- Get rid of last week’s laundry—it doesn’t belong in the bathroom.
Step 4: Washing and Organizing
Before tackling your bathroom surfaces, corral any dirty laundry into a single container. Bathrooms aren’t magic—they can’t process dirty clothes for you. Set up proper storage if you’re tired of overflowing piles, and rally the family to help keep things tidy.Step 5: Scrub Cabinets and Shine Mirrors
Your cabinets and mirrors are used daily but often overlooked during quick cleans. Now’s the time to give them the attention they deserve.For Cabinets:
- Empty them out completely.
- Check shelf stability and tighten any loose fittings.
- Wipe down all surfaces and only restock what’s been used in the last month.
For Mirrors:
A shiny, streak-free mirror makes the entire room feel brighter. Clean your mirror using your favourite method—whether it’s vinegar, newspaper, or just hot water and toilet paper for drying. Smudges don’t stand a chance!Step 6: Tackle the Bathroom Suite
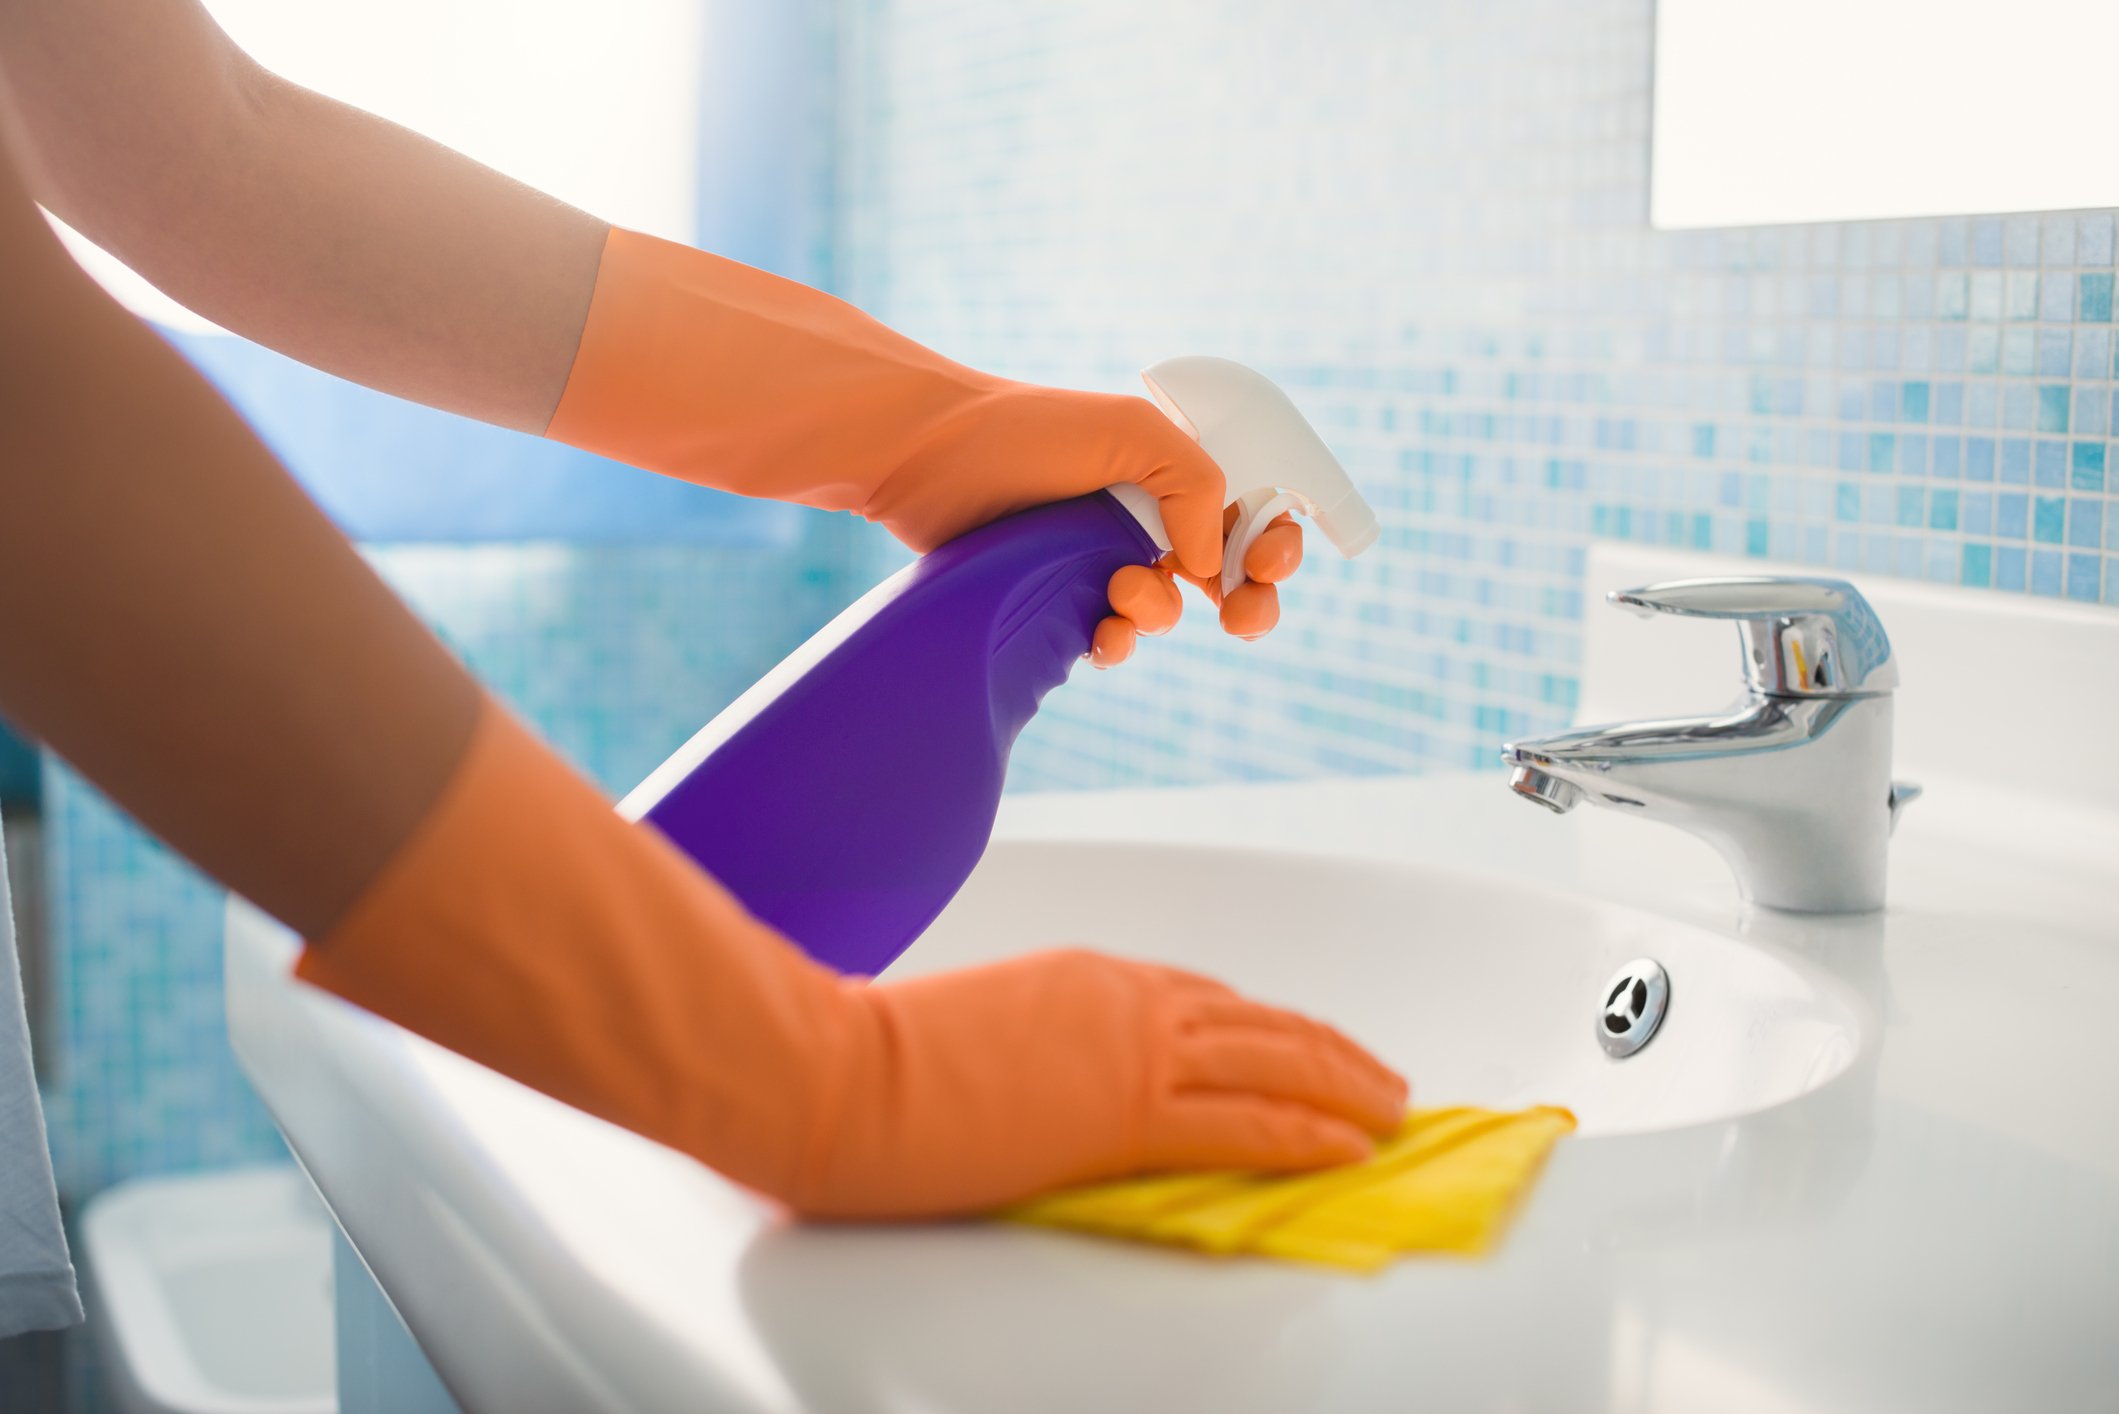
Now for the big stuff: the bath, sink, and toilet. No matter what material your suite is made of, avoid harsh abrasives that might scratch surfaces.- Bath: Remove toys, bottles, and products. Work from top to bottom with a sponge and hot water. Use an old toothbrush for grout lines or hard-to-reach spots. Stubborn grout stains? A careful application of bleach can help. Don’t forget to clean your taps and showerhead, scrubbing away any buildup with a toothbrush.
- Bath Toys: Even the beloved rubber duck needs a refresh! Bath toys can trap water and grow mildew, which is as gross as it sounds. Soak them in a mild bleach solution and squeeze them repeatedly to flush out grime.
- Toilet: Lift every lid and clean every surface, including behind the pan and under the cistern. Pay close attention to the area at floor level—it often gets missed.
Step 7: Finish with the Floors
Vacuum the floor to remove loose dust and debris. If you’ve got skirting boards, give them a wipe-down. Then mop or scrub the floor to tackle deeper dirt. Pay extra attention to corners and edges where grime likes to hide.Step 8: Add the Final Touches
Your hard work is almost done. Use toilet paper to wipe down mirrors and stainless steel fittings, ensuring everything gleams. Arrange your bath products neatly in groups (three is a magic number for a polished look). Step back and admire your refreshed bathroom. It’s a clean, welcoming space once again! Maybe it’s time for a long, relaxing bath—you’ve earned it.Call now to get your free quote
If you need help with any Decorating call us today
T: 01225 466237 | M: 07970 541989