
Using Decorators Caulk
Using decorator's caulk is essential for seamless, attractive results on your projects. First, select the right caulk considering durability, elasticity, and cost. Clean and inspect the surface meticulously, making sure it's dry and free of debris. Apply painter's tape for clean edges. Cut the nozzle at a 45-degree angle and apply a consistent bead. Smooth it with a wet finger or tool. For interiors, focus on aesthetics; exteriors need weather resistance. Use a quality caulking gun and make sure proper drying time before painting. Avoid common mistakes like overapplication and improper surface prep. Stick around to discover more tips and tricks.
Key Takeaways
- Clean the surface thoroughly before applying decorator's caulk to ensure proper adhesion.
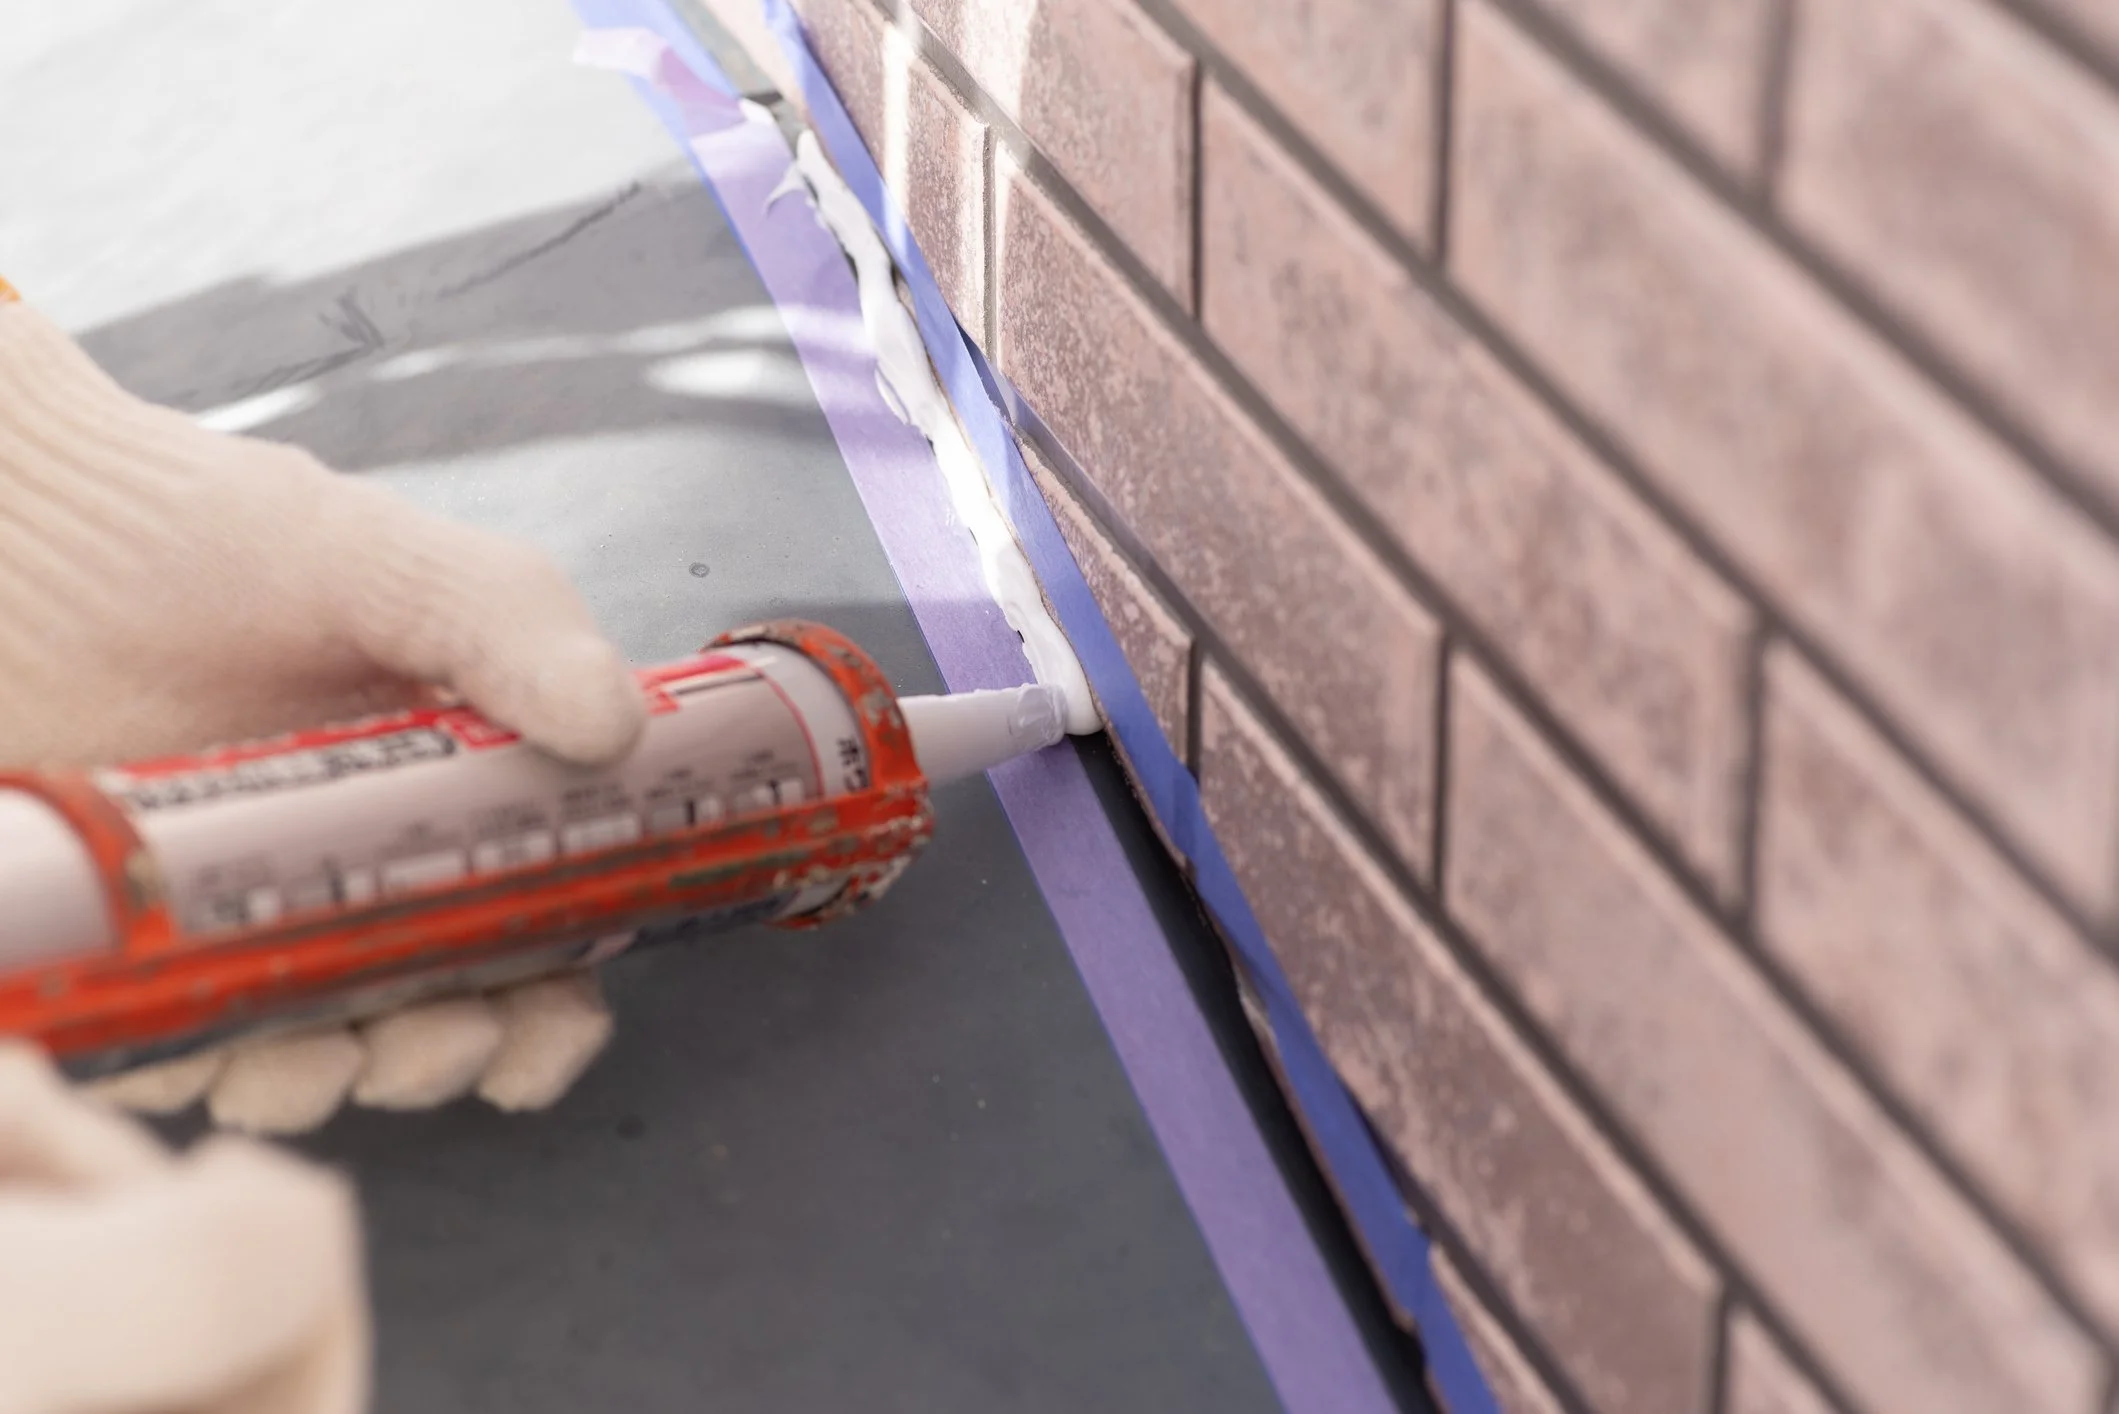
- Cut the nozzle at a 45-degree angle for a smooth and controlled application.
- Apply a consistent bead of caulk and smooth it with a wet finger or caulk tool.
- Allow the caulk to dry completely as per the manufacturer's instructions before painting or further finishing.
- Use painter's tape to mask surrounding areas and achieve a neat, professional finish.
Choosing the Right Caulk
When selecting the appropriate caulk for your project, it's vital to consider the specific requirements of the job and the environment where it will be used. First, consider the caulk's durability and cost. High-quality, durable caulks might come with a higher price tag, but they often provide better long-term value. Cheaper options might save you money initially but could require more frequent reapplication.
Next, assess the elasticity of different caulks. Evaluating elasticity is important because some caulks are more flexible than others. For instance, silicone-based caulks offer excellent flexibility, making them ideal for areas prone to movement or expansion. Acrylic latex caulks, on the other hand, are less elastic but easier to apply and clean up.
Weather resistance is another important factor, especially for exterior projects. Caulk needs to withstand various weather conditions without cracking or losing its adhesion. Silicone and polyurethane caulks generally offer better weather resistance and flexibility, making them suitable for outdoor applications.
Surface Preparation
Properly prepping the surface guarantees that the caulk adheres effectively and provides a long-lasting seal. Start by thoroughly cleaning the area where you plan to apply the caulk. Any dust, grease, or old caulk remnants can hinder caulk adhesion and affect the surface finish. Use a mild detergent and water to clean, then let the surface dry completely.
Next, inspect the surface for cracks or gaps. Fill any large gaps with a suitable filler and sand down any rough areas for a smooth surface finish. A well-prepared surface ensures the caulk bonds properly, enhancing paint compatibility and reducing drying time.
Make sure to use painter's tape to mask off areas around where you'll be applying the caulk. This not only guarantees a clean line but also prevents excess caulk from spreading onto unwanted areas, which can compromise the final look and paint compatibility.
Additionally, consider the weather conditions when preparing the surface. For exterior projects, ensure the surface is dry and free from moisture, which can impact weather resistance and sealing effectiveness.
Proper preparation is key to achieving a professional result and maximizing the longevity of your caulking job.
Application Techniques
Applying decorators caulk effectively requires a steady hand and the right tools. Start by cutting the caulk tube's nozzle at a 45-degree angle, creating an opening slightly smaller than the gap you're filling. Load the tube into a caulking gun and apply a consistent bead along the joint, maintaining steady pressure. Smooth the caulk with a wet finger or a caulking tool, making sure it adheres properly and fills gaps evenly.
Pay attention to the drying time, as it varies based on the product and weather conditions. Cooler or more humid environments can extend the drying period. Check the manufacturer's instructions for specific guidance.
Colour options for decorators caulk are plentiful, so choose one that matches your surface for a seamless look. If you need to change the color later, caulk can be painted once fully cured.
When it comes to finishing touches, make sure the caulk is smooth and even. For removal methods, use a utility knife to cut the caulk bead and a soft scraper to lift it off. Store any unused caulk in a cool, dry place to prolong its shelf life.
These application techniques will help you achieve professional results every time.
Interior Vs Exterior Caulk
Choosing between interior and exterior caulk hinges on understanding the specific demands of each environment.
Interior caulk primarily focuses on aesthetic appeal and ease of use. You'll find a wider range of color options to match your decor, guaranteeing a seamless finish. This type of caulk doesn't need to be as tough as exterior variants because it's not exposed to harsh elements. However, it still needs to handle minor expansion and contraction due to temperature changes inside your home.
Exterior caulk, on the other hand, prioritizes weather resistance and durability. It's designed to withstand extreme conditions like rain, snow, and UV rays. This type of caulk must accommodate significant expansion and contraction properties due to the fluctuating outdoor temperatures. While color options may be more limited compared to interior caulk, the focus is on protecting your home's exterior against the elements.
Choosing the right caulk for your project ensures longevity and performance. For indoor projects, opt for caulk that offers aesthetic appeal and matches your interior. For outdoor applications, prioritize weather resistance and durability to protect against environmental factors. Always consider the specific needs of your project to make the best choice.
Tools for Caulking
When you're gearing up for a caulking project, having the right tools at your disposal is essential for achieving a professional finish. The first tool you'll need is a reliable caulking gun. Caulking gun selection is vital; look for one that offers smooth and consistent pressure to guarantee a clean application.
You might also want to contemplate different putty knife options. A flexible putty knife can help you spread the caulk evenly and reach tight spaces effortlessly.
Don't overlook the importance of temperature resistance and drying flexibility in your tools and materials. Some caulking guns are designed to perform better in extreme temperatures, ensuring the caulk maintains its integrity during application and as it dries. This is particularly significant if you're working in varying climate conditions.
Understanding the elasticity differences in caulk can also impact your tool selection. Choose tools that support the specific type of caulk you're using, as some may require more precise application techniques.
Lastly, take cost considerations into account. Investing in high-quality tools might have a higher upfront cost, but it will likely save you time and effort in the long run, leading to a more durable and visually appealing finish.
Maintenance Tips
Regular maintenance guarantees that your decorators caulk retains its elasticity and provides a flawless finish over time. Start by making sure proper caulk storage. Always store caulk in a cool, dry place to prevent it from hardening prematurely.
When using caulk, be mindful of caulking mistakes, such as applying it too thickly or not smoothing it properly. These errors can compromise the finish and durability.
For caulk removal, use a utility knife or specialized caulk removal tools to carefully cut away old caulk without damaging surfaces. This step is essential before applying new caulk to ensure a clean, adhesive surface.
Pay attention to caulk drying time; rushing this process can lead to poor adhesion and a subpar finish. Choosing the right caulk color is also important. Match the caulk color to your project for a seamless look.
Use high-quality caulking tools like caulk guns and putty knives to apply and smooth the caulk efficiently. Regularly clean these tools to maintain their effectiveness.
Common Mistakes
One common mistake when using decorators caulk is applying it too thickly, which can lead to cracking and uneven drying. Overapplication delays drying time and compromises the caulk's ability to bond effectively. To prevent this, apply a thin, even bead and smooth it out immediately with a caulking tool or your finger.
Another frequent error is neglecting material compatibility. Not all caulks adhere well to every surface. Verify that the caulk you're using is suitable for the materials involved, whether it's wood, metal, or drywall. This guarantees proper adhesion and long-lasting results.
Improper cleaning of surfaces before application is another pitfall. Dirt, dust, and moisture can prevent the caulk from sticking properly, leading to future cracking and peeling. Always clean your surfaces thoroughly and let them dry completely before applying the caulk.
Lastly, rushing the process can lead to issues. Allow adequate drying time as specified by the manufacturer. Patience ensures the caulk sets correctly, maintaining its elasticity and preventing premature cracking.
Call now to get your free quote
If you need help with any Decorating call us today
T: 01225 466237 | M: 07970 541989