
Preparing Walls for Painting
Properly prepare your walls for painting, start by removing all furniture or covering it centrally with plastic. Protect the floor with canvas drop cloths. Guarantee electrical safety by switching off circuit breakers and remove any attached fixtures. Treat existing imperfections by filling holes with spackle, using a mesh kit for larger gaps, and sealing cracks with caulk or joint compound. Sand the walls using fine-grit sandpaper for a smooth finish.
Clean the walls thoroughly with mild soapy water to remove dust, dirt, and grease, and make sure they are dry. Prime the walls evenly to enhance paint adhesion and durability. Discover more details that could further improve your overall results.
Key Takeaways
- Remove old wall coverings using a wallpaper remover solution and clean the walls thoroughly.
- Repair any imperfections with spackle or joint compound and sand smooth once dry.
- Wash and dry walls completely to eliminate dirt and moisture that can affect paint adhesion.
- Apply an appropriate primer to ensure smooth paint application and enhance durability.
- Protect flooring and furniture with drop cloths and use painter's tape on trim and fixtures.
Room Preparation Steps
Begin by clearing the room of furniture or moving items to the center and covering them with plastic to prevent paint splashes. This step is essential for effective wall protection and furniture relocation.
Next, lay down canvas drop cloths to cover the entire floor area. These cloths are preferable because they don't slip easily, ensuring better slip prevention compared to plastic sheets.
Ensure electrical safety by switching off the circuit breakers connected to the room. This prevents any accidental electrical incidents during the painting process. Protect all switches, outlets, and other electrical fittings with quality masking tape to prevent them from paint splatter.
If you're planning to paint around a ceiling fan, it's advisable to detach the blades and securely wrap them in plastic. This avoids any accidental paint marks and makes the painting process smoother around these fixtures.
For wall imperfections, apply spackle wisely. Fill any holes or cracks with a thin layer of spackle, ensuring it's evenly spread to maintain surface uniformity. Allow the spackle adequate drying time, which typically ranges from a few hours to overnight, depending on the product specifications.
Properly dried and sanded spackle provides a smooth, flawless base for primer application, leading to superior painting results.
Removing Old Wall Coverings
To remove old wall coverings effectively, start by using a specialized wallpaper remover solution to soften the adhesive beneath. Apply this liberally across the surface and allow it sufficient time to penetrate and weaken the bond. This pre-treatment is vital for efficient wallpaper removal and reduces the risk of damaging the underlying wall.
Next, employ a wallpaper steamer for sections where the paper stubbornly clings. Wall steaming loosens the wallpaper further, facilitating easier stripping. Use a scraping tool, keeping it flat against the wall to avoid gouges. As you remove the wallpaper, take care not to rush this step; patience ensures a cleaner removal.
Once the bulk of the wallpaper is off, you'll likely encounter adhesive residue. This is where thorough surface cleaning becomes important. Utilize a sponge with a mild detergent solution to wash the walls and remove any remaining adhesive. For stubborn areas, consider a gel adhesive remover that can sit on the surface to break down the glue without excessive scrubbing.
Paint scraping might be necessary if there are layers of flaking paint beneath the wallpaper. Use a paint scraper to carefully remove loose paint without digging into the plaster. This meticulous preparation sets the stage for a smoother painting process, ensuring a professional finish.
Repairing Wall Imperfections
After removing old wall coverings, you'll often find various imperfections that need addressing before painting can commence. These blemishes, ranging from tiny pinholes to larger fissures, must be meticulously repaired to guarantee a smooth and professional finish.
Start by patching holes. For small holes, use lightweight spackle, applying it with a putty knife. Make sure you overfill the hole slightly, as spackle shrinks upon drying. Larger holes may require a patch kit, which includes a mesh that adheres over the area before applying a joint compound.
Next, focus on filling cracks. Use a flexible caulk for hairline cracks, particularly where walls meet ceilings or corners to allow for expansion and contraction. For wider cracks, a joint compound is more appropriate, applied smoothly to bridge any gaps effectively.
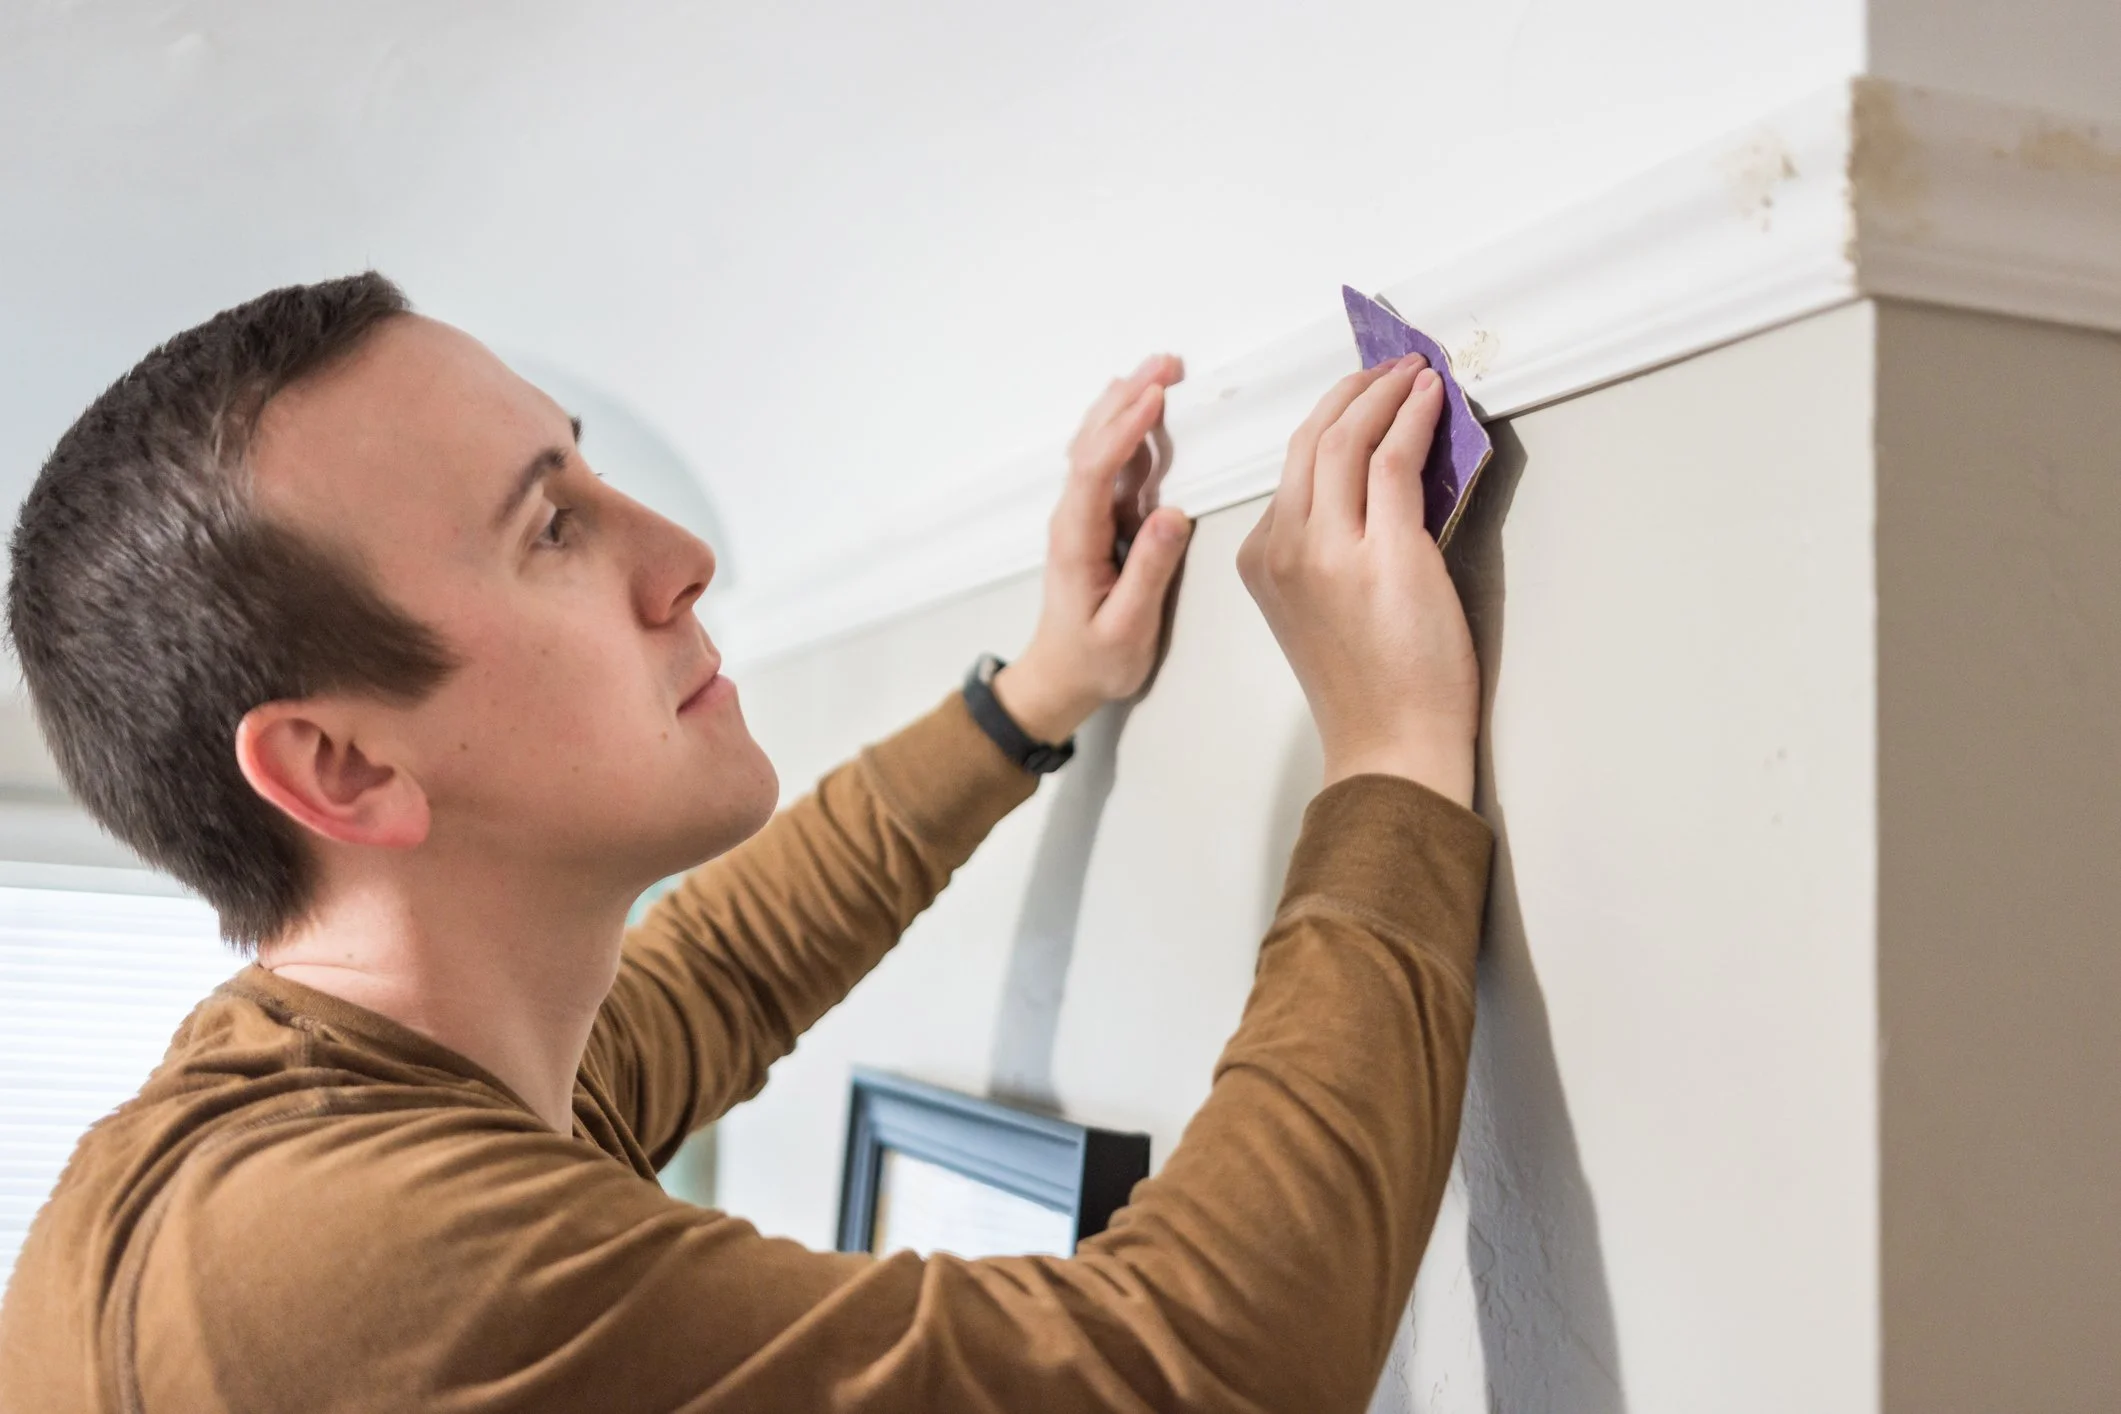
Once patching and filling are complete, you'll need to sand the walls. Use fine-grit sandpaper to smooth the repaired areas and any other rough surfaces. This step is essential to remove any residual bumps that could mar your final paint job.
Cleaning and Dusting Walls
Prior to commencing painting, make sure that all walls are meticulously cleaned and dust-free to enhance paint adhesion and finish. Wall washing is the initial step in preparing your surfaces. You'll need a sponge or soft cloth and a bucket of mild soapy water. Start from the top of the wall and work your way down, ensuring even coverage and thorough dirt removal.
After the general surface cleaning, it's important to focus on dust removal. Use a microfiber cloth or a specialty dust brush to gently sweep the wall surfaces. This step is essential to eliminate any particles that could undermine the smoothness of your paint application.
For areas with more stubborn stains or accumulated grime, wall scrubbing becomes necessary. Employ a non-abrasive scrubbing pad and a stronger cleaning solution, but ensure it's suitable for your wall type to avoid damage. Rinse the walls well with clean water to remove any residual cleaner.
Lastly, make sure all moisture is thoroughly dried off the walls to prevent any painting issues. Adequate drying is critical, as lingering moisture can lead to poor paint adhesion, ultimately affecting the durability and finish of your paint job.
Importance of Priming
Priming your walls is vital for guaranteeing a smooth, even application of paint and best adherence. The benefits of priming are manifold; it creates a uniform surface that enhances paint adhesion, blocking stains and previous colours from bleeding through. Additionally, it increases the durability of the topcoat, ensuring you won't need to repaint sooner than necessary.
When selecting the right primer, consider the surface type and the paint you'll use. For instance, a latex primer is typically recommended for most indoor walls, while an oil-based primer may be necessary for areas susceptible to moisture, like bathrooms.
Application techniques also play an important role. Start by applying a thin, even layer of primer using a high-quality roller or brush. Don't rush this step. Proper coverage without overloading your tool is key to avoiding common mistakes such as drips and uneven texture.
Lastly, consider the drying time specified by the primer manufacturer. It's tempting to rush into painting, but allowing the primer to fully dry ensures the best possible adhesion and finish. Typically, this means waiting at least 24 hours, though conditions like humidity can extend this time. Patience here can save you a lot of time and effort in touch-ups later.
About Paintworks
Understanding the benefits of proper priming, you'll appreciate the high standards and attention to detail that Paintworks brings to every project. With a focus on excellence, Paintworks is dedicated to delivering not just a paint job, but a masterpiece of craftsmanship. Their professional approach guarantees that every stroke and coat of paint is applied with precision, reflecting Paintworks expertise in the field.
When you choose Paintworks, you're not just getting a painting service; you're investing in a guarantee of customer satisfaction through their reliable service. Here's what sets Paintworks apart:
- Advanced Painting Techniques: Utilization of the latest tools and methods to ensure superior finish and durability.
- Thorough Surface Preparation: Meticulous attention to wall prep, ensuring paint adheres well and lasts longer.
- Customized Solutions: Tailored approaches to meet specific aesthetic and functional needs of your space.
- Eco-Friendly Options: Offering sustainable painting solutions that are better for the environment.
- Post-Completion Clean-up: Leaving your space spotless, so all you notice is the quality of the work.
Each project is handled with the utmost care, ensuring that every client receives a high-quality, guaranteeing result that stands the test of time.
Call now to get your free quote
If you need help with any Decorating call us today
T: 01225 466237 | M: 07970 541989