
How to Patch Plaster Walls
Are you tired of staring at those unsightly cracks in your plaster walls, wondering if there's a way to restore their original charm? Well, wonder no more!
We guide you through the step-by-step process of patching plaster walls, so you can finally bid farewell to those imperfections. From the initial preparation stage to the final finishing touches, we've got all the information you need to transform your walls.
So, are you ready to discover the secrets of achieving a flawless finish?
Key Takeaways
- Preparation is essential before fixing cracks in plaster, including covering the floor, closing off the room, and addressing any sources of moisture.
- Smoothing and patching cracks in plaster involve removing loose plaster, applying a layer of plaster or using spackle and joint compound, and allowing it to dry before sanding and painting.
- When repairing holes in plaster and lath, it is necessary to remove damaged plaster, apply a bonding agent, fill the hole with plaster, apply joint compound, and sand it smooth before painting or wallpapering.
- Tools and materials required for patching plaster walls include a paintbrush, filling knife, plastering trowel, hawk, and premixed plaster.
Preparation for Patching Plaster Walls
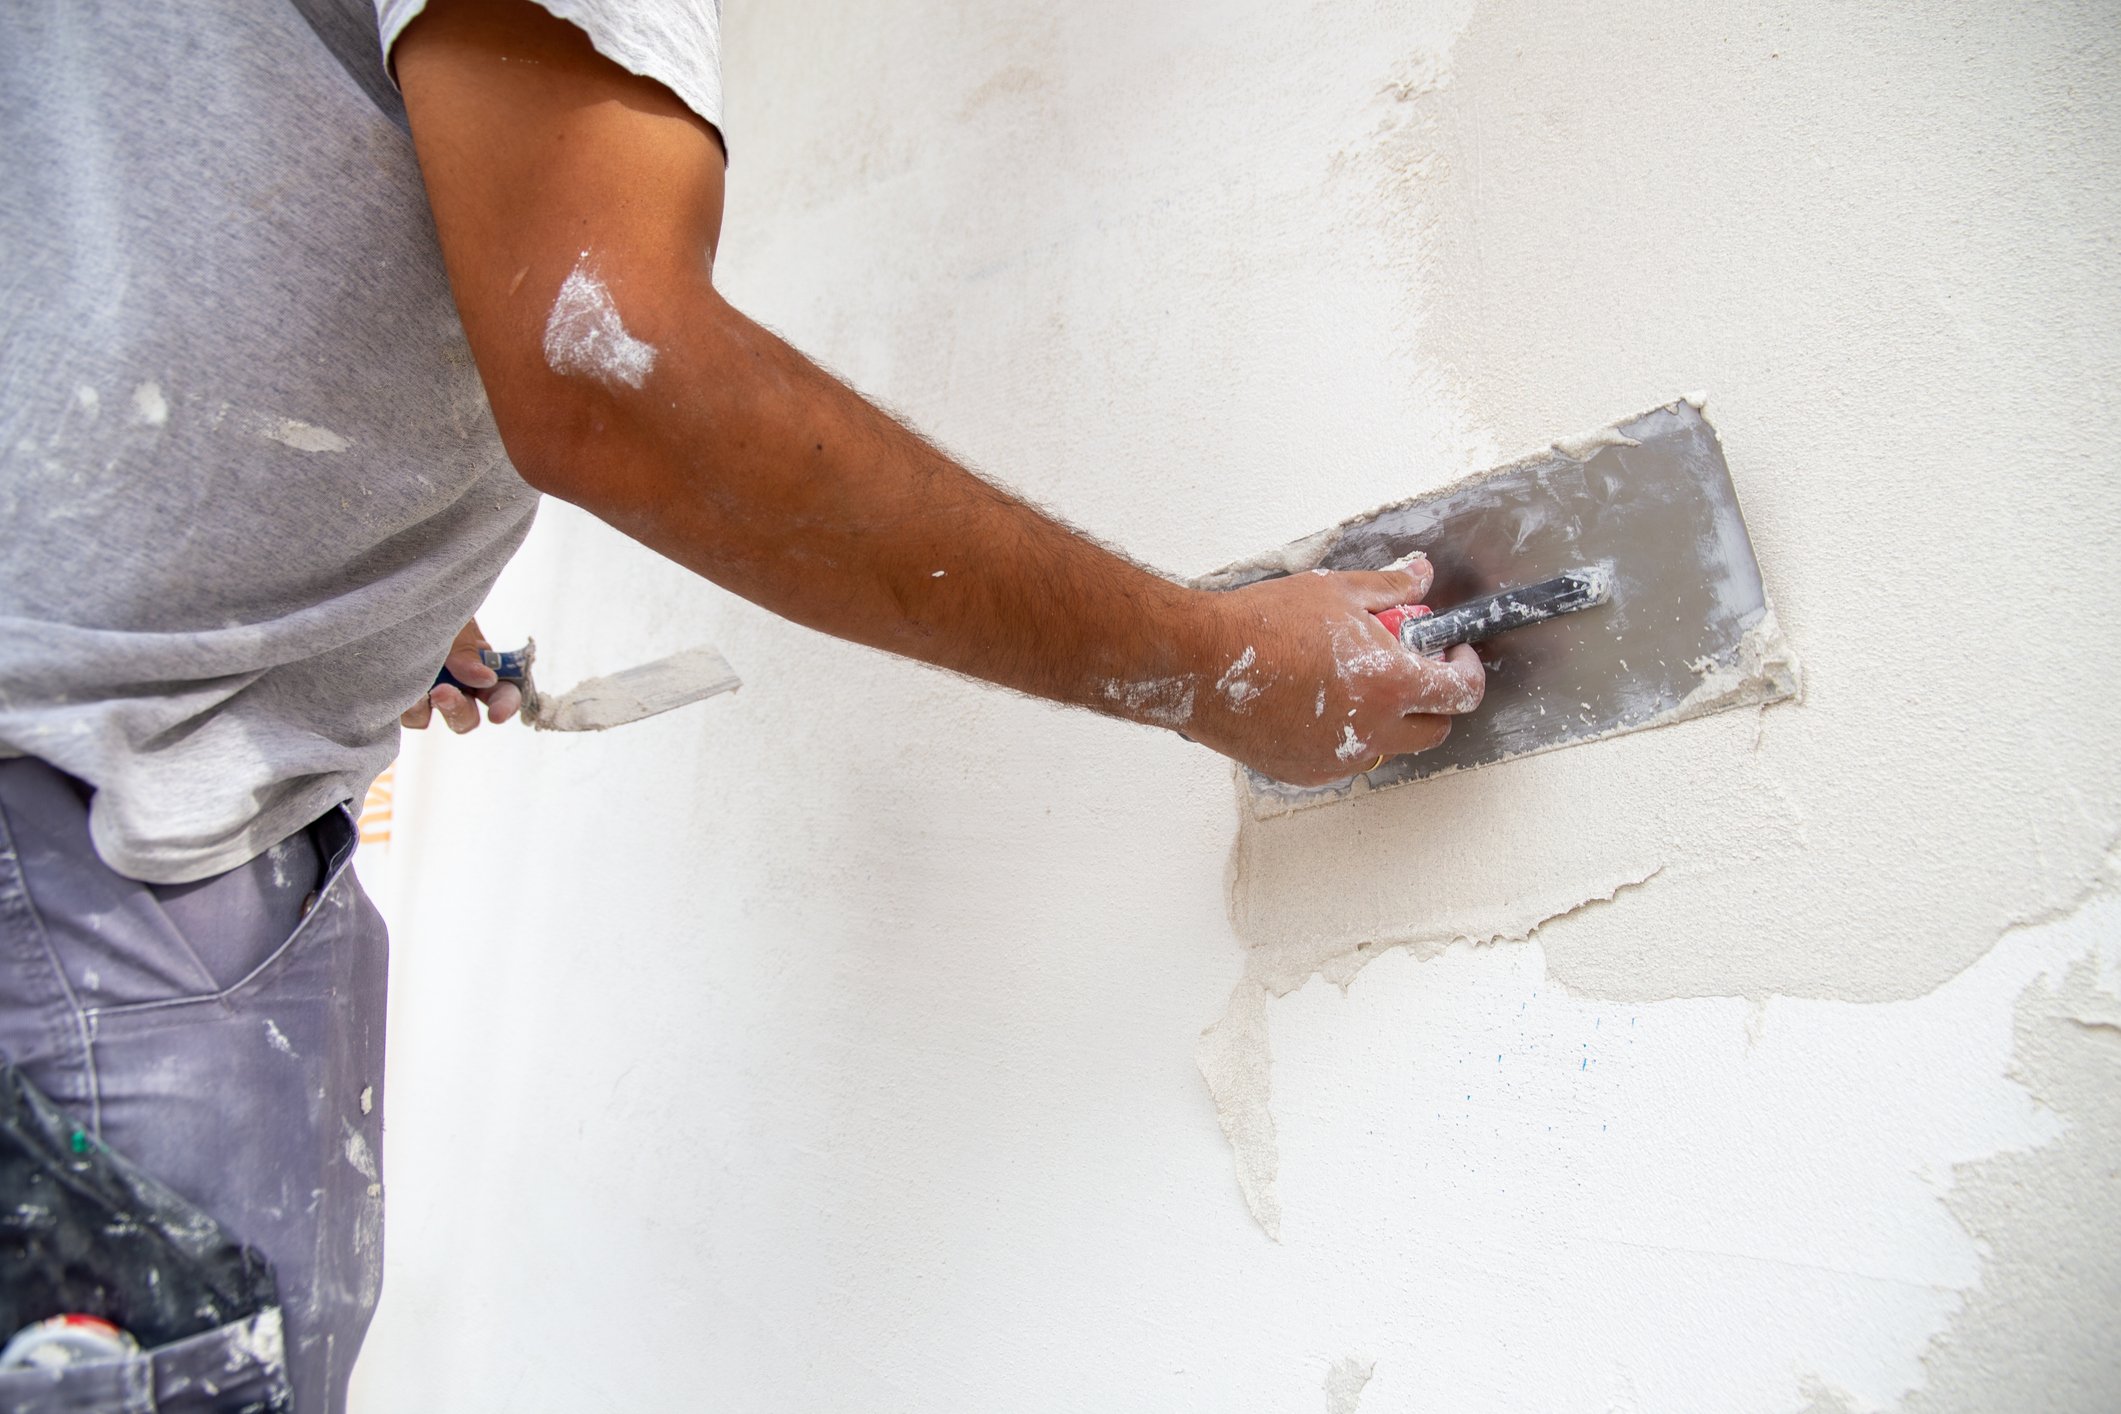
To properly prepare for patching plaster walls, follow these essential steps to ensure a successful and long-lasting repair. First, protect your furniture by covering it with plastic drop cloths and securing them with painters tape. This will prevent any dust or debris from damaging your belongings during the repair process. Additionally, close off the room using plastic sheeting and painters tape to contain the dust and protect the rest of your home. Avoid common mistakes when patching plaster walls by thoroughly cleaning the area and fixing any sources of moisture before applying the plaster. This will help prevent future cracks in the plaster. When patching the plaster, use techniques to match the texture of the patch to the surrounding wall. This can be done by using a putty knife to smooth and remove loose plaster pieces, then dampening the area and applying a layer of plaster with a wallboard knife. Allow the area to dry for 24 hours before sanding, priming, and painting.Smoothing and Patching Cracks in Plaster
Smooth and patching cracks in plaster can be done effectively by following a few simple steps. Before starting, it's important to understand the common causes of cracks in plaster. These can include settling of the building, temperature changes, and moisture issues. To achieve a smooth plaster finish, start by preparing the surface properly. This involves removing loose plaster pieces and jagged edges with a putty knife, dampening the area with water, and applying a layer of plaster with a wallboard knife. Allow the area to dry for 24 hours before proceeding. To prevent future cracks in plaster, it's important to address any leaks or sources of moisture in the wall or room before plastering. Additionally, consider using alternative materials for patching plaster walls. Spackle can be used for small cracks, while joint compound and self-adhesive fiberglass wallboard tape can be used for larger cracks. After patching, sand the area smooth, wipe away dust and debris, and apply a primer/sealer before painting.Using Spackle and Joint Compound for Patching
When patching cracks in plaster, you can use spackle for small cracks and joint compound for larger cracks. Spackle is a lightweight patching compound that's easy to apply and dries quickly. It's ideal for filling in small cracks and imperfections in the plaster. Simply apply the spackle with a putty knife, let it dry, and then sand it smooth. Joint compound, on the other hand, is a thicker compound that's better suited for larger cracks and holes. Before applying the joint compound, it's recommended to first apply self-adhesive fiberglass wallboard tape to reinforce the area. Then, apply the joint compound with a wallboard knife, feathering the coverage to blend it seamlessly with the surrounding plaster. Allow the joint compound to dry, sand it smooth, and apply a second coat if necessary. To achieve a seamless finish when patching plaster walls, it's important to use the right techniques. Make sure to feather the edges of the patched areas to blend them with the existing plaster. Avoid applying too much compound or spackle, as it can lead to bulges and uneven surfaces. It's also important to sand the patched areas thoroughly to create a smooth and even surface. While spackle and joint compound are commonly used for patching plaster walls, there are also alternatives available. These include plaster of Paris, which is a quick-drying compound that can be mixed with water and applied to the cracks. Another alternative is using plaster washers, which are metal discs that can be used to secure loose plaster and prevent further cracking.Sanding, Priming, and Painting After Patching
After patching the cracks in the plaster walls, the next step is to sand, prime, and paint the patched areas to achieve a seamless and finished look. Start by sanding the patched area with fine-grit sandpaper until it's smooth. Be sure to wear safety goggles and a dust mask or respirator for protection. Once the area is sanded, wipe away any dust and debris with a damp cloth. Use a damp sponge to clean the patch and then apply a primer/sealer. Allow the primer to dry completely before moving on to painting. When choosing the right paint color, consider the existing color scheme of the room and select a shade that complements it. To achieve a smooth finish, use a high-quality paint and apply it evenly with a paintbrush or roller. Techniques for blending patched areas with surrounding walls include feathering the paint outwards from the patch and using a dry brush to create a textured effect. To properly clean and maintain painted plaster walls, wipe them down regularly with a soft cloth and mild soap. Avoid using abrasive cleaners that can damage the paint. If you want to cover patched areas with wallpaper, consider using a pattern that matches or coordinates with the surrounding walls to create a cohesive look. Apply the wallpaper according to the manufacturer's instructions for the best results.Repairing Holes in Plaster
To repair holes in plaster start by removing the damaged plaster using a cold chisel and ball peen hammer. This will ensure that you have a clean and smooth surface to work with. Once the damaged plaster is removed, you can begin filling the hole. For small holes, you can use a premixed spackle or joint compound and apply it with a putty knife. Make sure to let it dry and sand it smooth before proceeding. For larger holes, you may need to use a combination of plaster and joint compound. Apply the plaster first to fill the hole, then apply the joint compound to feather the coverage. Let it dry and sand it smooth. When repairing plaster, it's important to match the texture of the existing plaster. You can do this by using a brush or sponge to create the desired texture before the plaster or joint compound dries. This will help the repaired area blend in with the surrounding wall. To prevent future cracks in plaster walls, it's important to address any underlying issues that may be causing the cracks, such as moisture or structural problems. Fixing these issues before patching the plaster will help ensure a long-lasting repair. If you prefer alternative materials for patching plaster walls, there are options available such as drywall patches or self-adhesive mesh patches. These can be used in place of traditional plaster for smaller repairs. However, for larger repairs or when matching the texture of existing plaster is important, traditional plaster is recommended for the best results.Tools and Materials for Patching Plaster Walls
Now let's explore the essential tools and materials you'll need for patching plaster walls to achieve professional-looking results. When it comes to repairing techniques, it's important to have the right tools on hand. A small paintbrush with premixed adhesive will be useful for applying a bonding agent to the plaster. A filling knife will come in handy for smoothing out the patched areas. A plastering trowel will be essential for applying the plaster, while a hawk will provide a stable surface for holding the plaster. As for the materials, premixed plaster will be needed to fill and patch the damaged areas. While these tools and materials are essential, it's also worth noting some best practices to avoid common mistakes and achieve the best results. One best practice is to ensure that the area to be patched is clean and free of loose debris before applying the adhesive and plaster. Another best practice is to work in thin layers, allowing each layer to dry before applying the next one. This will help to achieve a smooth and even finish. Lastly, it's important to follow the manufacturer's instructions for the adhesive and plaster, as different products may have specific application techniques. In addition to the traditional tools and materials, there are also alternative materials available for patching plaster walls. Some alternatives include self-adhesive fiberglass wallboard tape and joint compound, which can be used for larger cracks and holes. These materials can provide added strength and durability to the patched areas.Repairing Lathing Plaster and Finishing
For repairing lathing plaster and achieving a smooth finish, start by using a scraping knife to remove any loose areas from the wall. This will ensure that the plaster adheres properly. When it comes to lathing plaster, there are alternative materials available such as gypsum board or drywall, which can be used as a substitute. However, if you prefer to repair the existing lathing plaster, there are techniques you can use to achieve a smooth finish. One common mistake to avoid is applying too much plaster at once, as this can lead to cracking and unevenness. Instead, apply thin layers and allow each layer to dry before applying the next. To prevent future damage to lathing plaster, it's important to address any underlying issues such as leaks or sources of moisture. This will help to maintain the integrity of the plaster. When it comes to matching the texture of existing lathing plaster, you can use various tools and techniques to achieve a seamless blend. Experiment with different tools, such as brushes or sponges, and practice on a small area before attempting to match the texture of the entire wall.Final thoughts
In conclusion, by following the step-by-step process outlined in this article, you can successfully patch your plaster walls and restore their beauty. From preparing the room to smoothing and patching cracks, using spackle and joint compound, and finishing with sanding, priming, and painting, you'll achieve a seamless finish. Additionally, with the right tools and materials, you can also repair holes and lathing plaster. Take the first step towards transforming your walls with confidence, and create a sight to behold in your home.Call now to get your free quote
If you need help with any Decorating call us today
T: 01225 466237 | M: 07970 541989